
Post clips are an absolute must for anyone undertaking a building project, either for a new structure or a renovation. Forging a solid and secure base, these clips can be easily affixed to the frame with the help of just a few straightforward tools. In no time at all, the installation process of post clips can be completed, taking only moments to complete.
Gather the tools before starting – all you need is a measuring tape, a drill, drill bits, screws, post clips, and a hammer. Top tip: Make sure that the clips are big enough to encompass the posts and are able to accommodate the weight of whatever is attached to them. Once you have everything, you’re ready to commence the installation process!
Before you begin to install the post clips, get your measuring tape out and determine the size of the posts as well as the space in between them. That way, you can make sure you’re purchasing the correct sizes! After you know these measurements, it’s time to mark where you’ll be drilling the holes. Easy peasy!
With the area set, you are ready to drill the gaps for the post clips. Ensure you employ a drill bit equal in breadth to the screws that will latch onto the clips. Drive each hole directly and to its corresponding depth for the sturdiest clip security. This approach is essential for a proper fitting.
After drilling, it’s time to insert the post clips. Carefully slide each clip into its respective spot, being sure that the screw holes and orientation all check out. When you’re certain that everything is set up correctly, use a screwdriver to send the post clips home. Give it a tight twist until they can’t move any more – that’ll make sure your clips are firmly secured.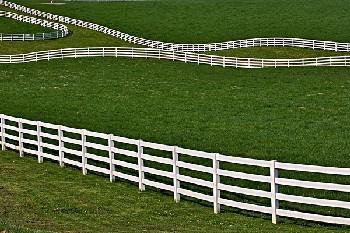
With post clips in position, it’s time to show that frame who’s boss. Put the screws used to secure the post clips to more use – they’ll be responsible for latching on and securing the structure’s frame. Give the screws a few hearty turns so that everything is kept tight and snug. After that, you can move onto attaching the rest of the structure.
Post clips may seem daunting to install, but with the correct tools and several minutes of your time, the task can be completed quickly and easily. Begin by gauging the size of the area you’ll be working in, and drill a few precise holes for the clips to fit into snugly. Afterward, you can join components of the structure together with your newly-installed post clips!
Securing t post clips is a crucial step in building any fences or other exterior projects. It doesn’t take much experience, but you will need to take your time and craft it with care. This article will walk you through the different steps of putting in t post clips in no time.
In order to affix t post clips, initial preparation of the post is essential. Ensure the post is securely grounded and leveled-off for an upright approach. Following that, the attaching of the clips is ready to be conducted.
Determine the exact length you need for your t post clip. Measure precisely from the top of the post to the bottom of the clip. Once done, hack off the precise size with scissors and hit the nail on the head with your hammer by making sure it is firmly placed in the post. Make sure you have an edge-on-edge look, with no huge gaps between the t post clip and post.
To affix the wire mesh to the t post clip, follow these steps: create a loop with the mesh and fix it around the clip. In cases where the mesh is too lengthy, a pair of pliers should be used to cut it. Afterwards, employ the help of pliers again to secure the clip, ensuring that it’s firmly stowed and won’t loosen over time.
All that stands between you and a successful t post clip installation is a simple verification. Ensure the edges of the clips are seamlessly fitted within the post and the wire mesh is securely held down. When all appears satisfactory, move forward to the installation of the remaining clips.
Inserting t post clips can be a quick and straightforward procedure, but special consideration must be taken. Enabling optimal security for your t post clips, precisely measure and trim the clips to size, drive them onto the post, and firmly secure the wire mesh. By following these easy-to-implement steps, you will ensure that your t post clips will stay in place long-term.
Related Product
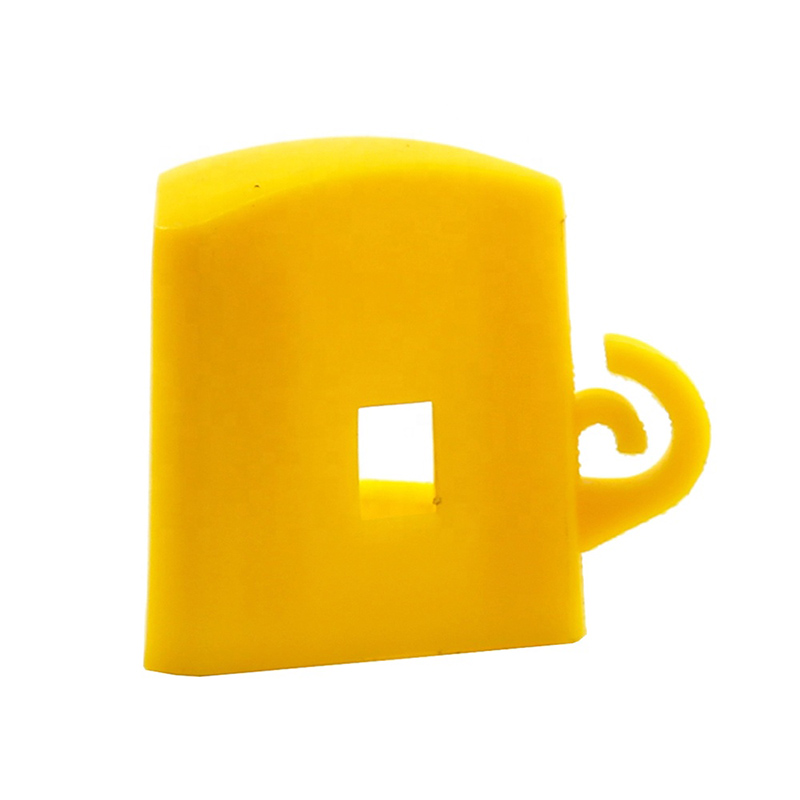
Y Post Cap
Y Posts Caps is also called safety cap or Star picket caps. It used for Y star picket . It can cover sharp edges of Y posts. Type Size(L x W X H) Thickness Weight Round 57x57x60mm […]
Y Post
Length:1.35m,1.5m,1.65m,1.8m,2.4m etc Weight:1.58kgs,1.86kgs,1.9kgs,2.04kgs/m etc Surface:painted, Hot dip galvanized, No paint Usage:farm fencing,garden fencing Packing:400pcs/pal […]
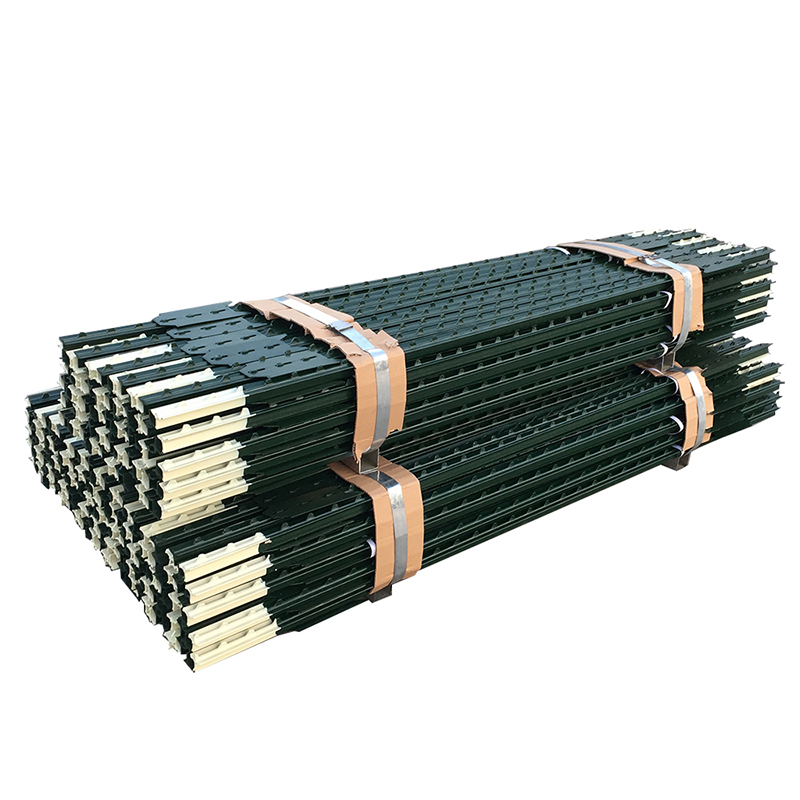
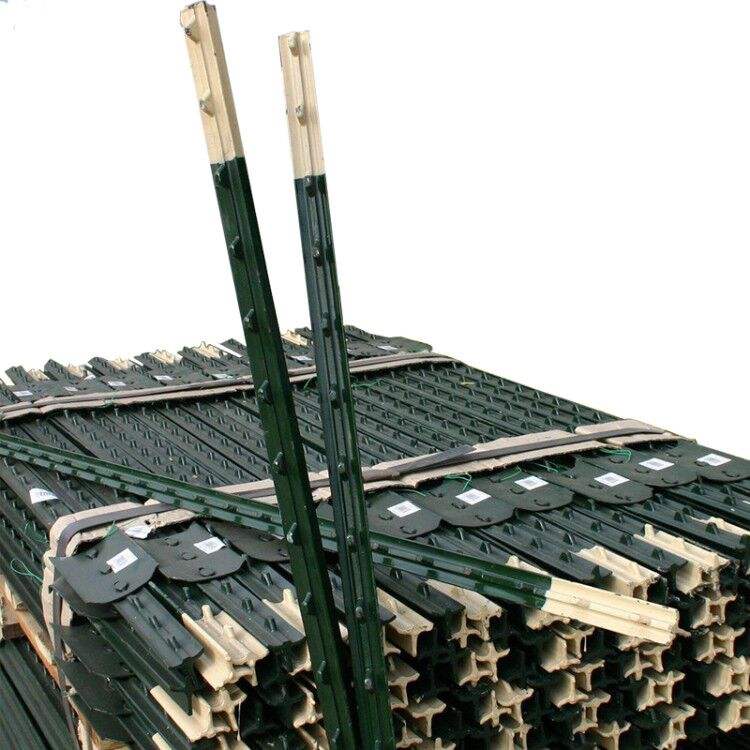
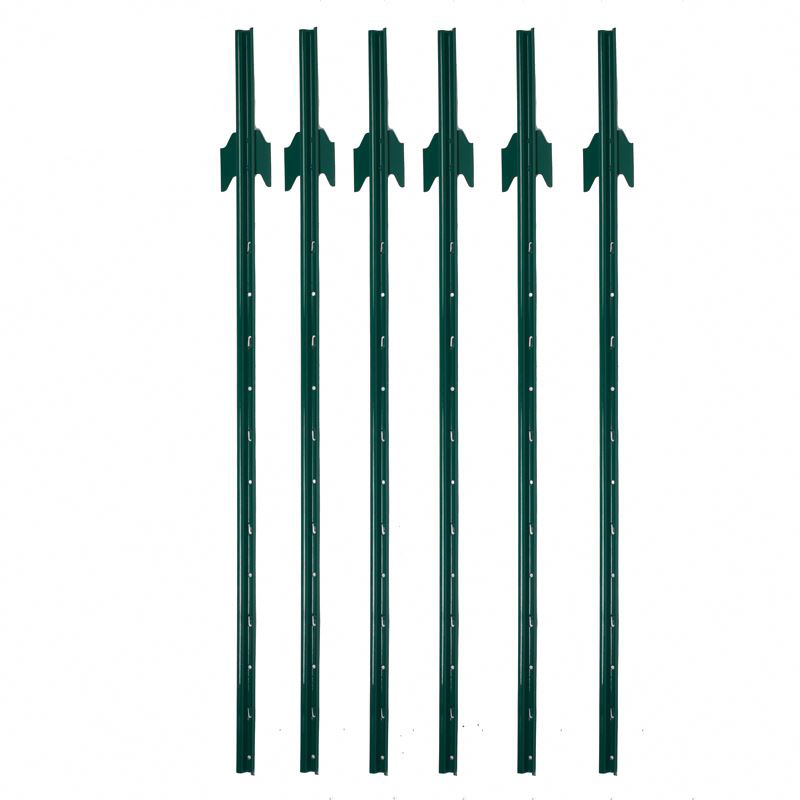
Studded T Post
material: rail steel weight: 0.85,0.95,1.25,1.33lbs/ft etc length: 5′-10′ etc surface: painted with spade,painted no spade,unpainted with spade,unpainted without spade,hot-dipped g […]
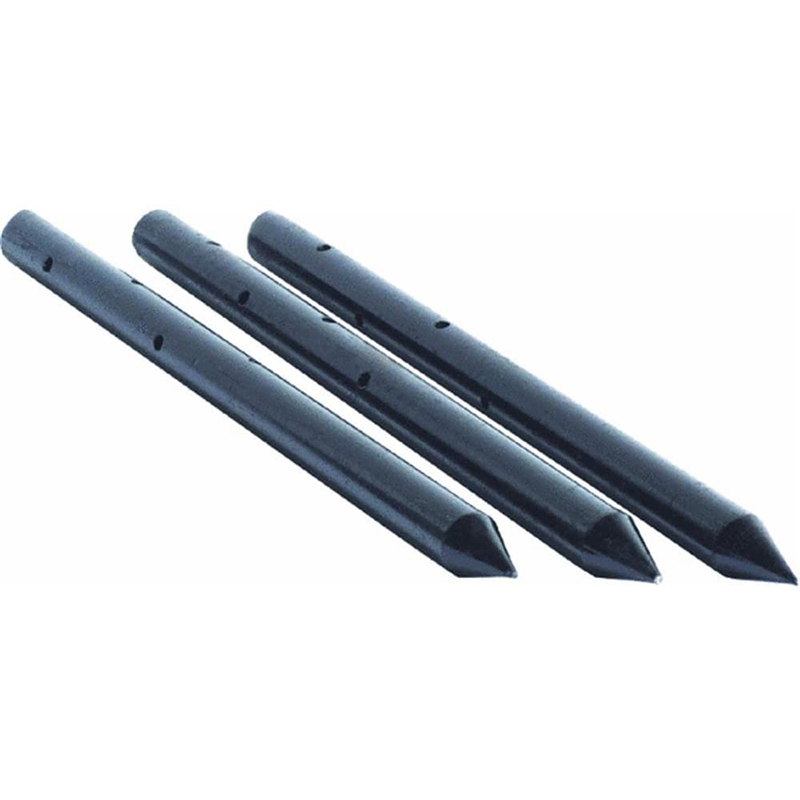
Nail Stake
Product information: Description Unit Pallet Weight(kg) 3/4″x12″ 10pcs/box 150boxes/pallet 0.6200 3/4″x18″ 10pcs/box 100boxes/pallet 0.9250 3/4″x24 […]
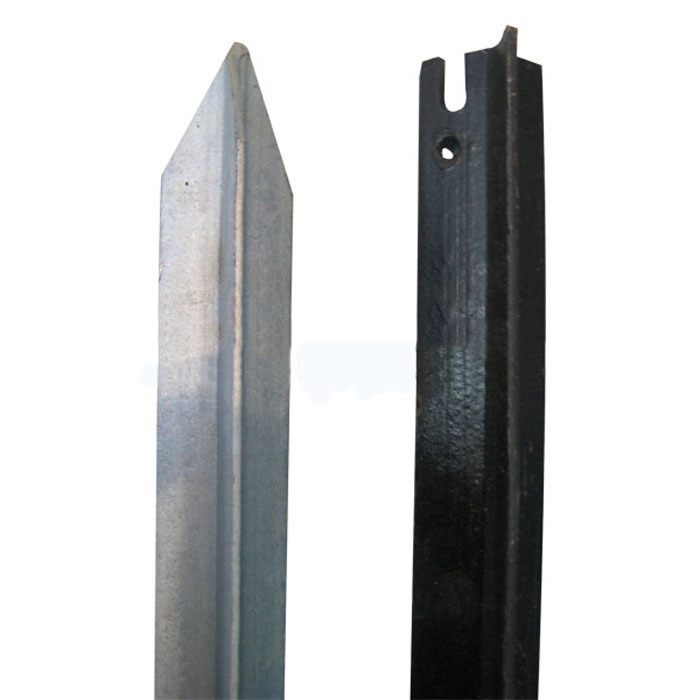
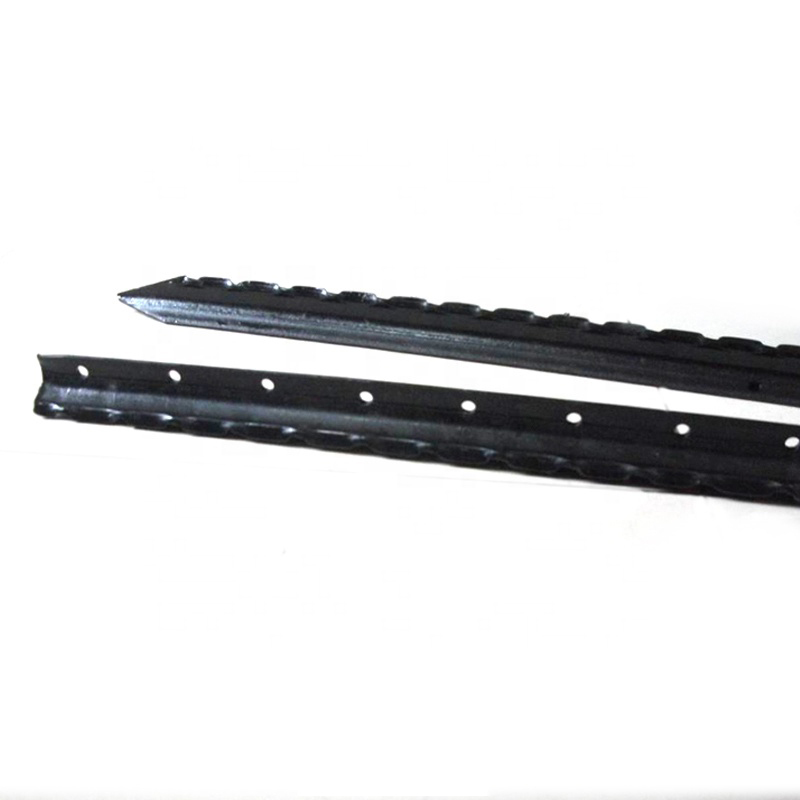
T Post
Material: rail steel Weight: 0.85,0.95,1.25,1.33lbs/ft etc Length: 5′-10′ etc Surface: painted with spade,painted no spade,unpainted with spade,unpainted without spade,hot-dipped g […]
U Post
Heavy Duty Garden U Shaped Steel Fence Post With Spade Shape: U shape, with or without spade Material: low carbon steel, rail steel, etc. Surface: Powder coated Advantage: Easily A […]
Israel Y Post
Y post with teeth provides the most reliable way of fencing wire attachment by threading the wire through the holds along the post, gripping the wire with is specially designed tee […]
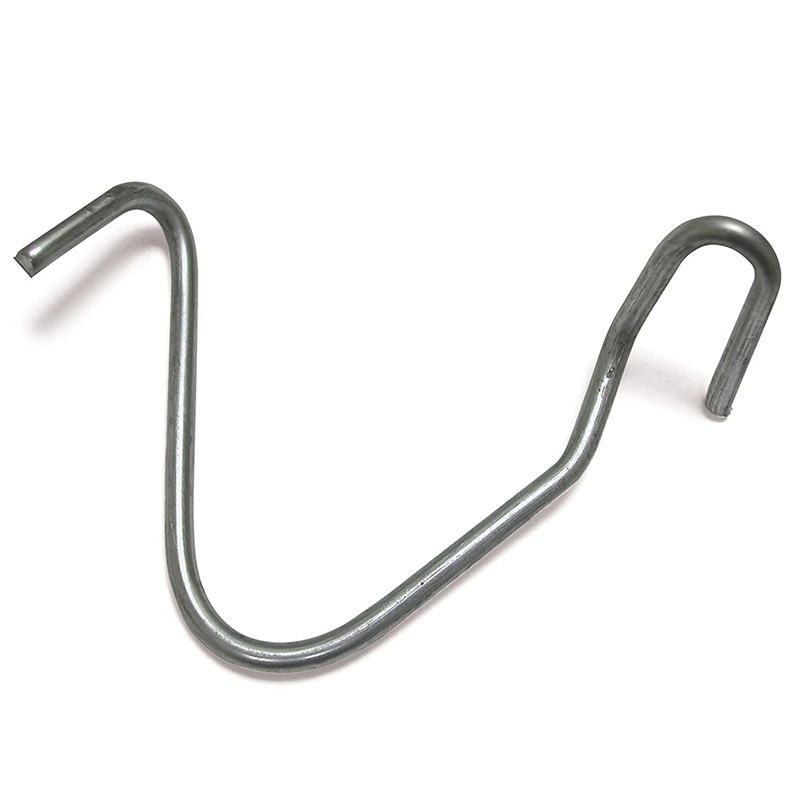
T Post Clip
These heavy duty T-post clips fit standard size 1.25 and 1.33 lb. studded T-posts. Manufactured from 11-1/2 gauge wire that is Hot-dipped galvanized, these clips are designed for f […]
Post time: 2023-07-21
