
When it comes to a fencing project, having the 4×4 fence posts set correctly and firmly in place is crucial. This article is dedicated to providing step-by-step instructions on how to establish a supportive and robust setup for a 1000-word project. The tools and materials needed for this job will also be outlined, so all that’s left for you to do is check out the details below and have those posts set properly.
Necessary Supplies
For a 1000-word fence project, the following tools and materials are required to establish 4×4 posts:
Fencing Your Outdoors with 4×4 Posts.
• Master of the Ceremony: The Post Hole Digger
Mason’s Masterful Threads
• Utilizing the Potent Power of the Nail Gun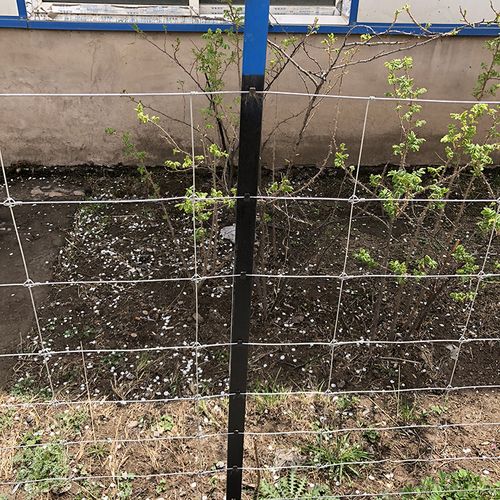
• Stately Barriers: A Look at Fencing Boards
After determining the exact range of your fence project, demarcate the appropriate spots for your posts. For an optimum outcome, ensure that every post is positioned equidistant from its fellows, and no closer than 12 inches from the perimeter of your new fencing limits.
Now that you have inspected and marked your posts, it is time to grab your post hole digger to create snug habitats for them. Take your digging instrument and make sure the holes are 12 inches deep and 8 inches wide to give adequate room for your posts to fit in nicely and stand securely. Note that you should be mindful to create these postholes slightly bigger than the posts.
The post-setting process begins with placing the posts in their holes one by one. Carefully adjust them so that they is perfectly level – a level will be necessary to check for plumb. After the posts are secured, it’s time to fill the post holes with gravel to compact the ground and ensure stability.
Making sure your posts remain solid is vital to a successful installation. Depending on your preference, you can secure the posts via either concrete or nails. If using concrete, get creative and mix according to the directions provided on the package, then fill the post holes fully and allow enough time for drying – about 24 hours. Alternatively, using a nail gun and adhering it with precision should render an airtight bond between nail and post. Aim to use enough nails for increased stability and strength.
Once your posts are firmly in place, you can get to work planning the paneling. Calculate the dimensions for the fence and indicate where you will set your boards. Make sure to record the coordinates of the horizontal boards before mapping out the vertical boards. This step is crucial for getting a smooth, even finish.
6. Fix the Fence Boards in Place: Once the dimensions and placements of the wooden planks have been established, you are ready to begin installation. Begin with the horizontal boards, firmly attaching them to the fenceposts using either nails or screws. Once those are set, proceed with installation of the perpendicular planks, ensuring that they are securely fastened with the employed fixings.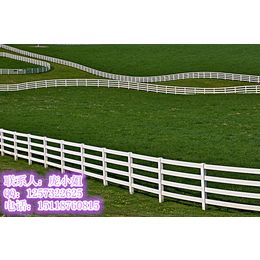
Crafting a quality fence for your thousand-word project is attainable with the right preparation and tools. All you have to do is ensure you have the necessary materials and stick to the steps described in this article. You can then proudly show off a fence that ensures stability and security for years!
Crafting a solid and reliable fence requires you to take the time to properly execute the setup of 4×4 posts. Negligence can lead to an unsteady fence that may not remain intact for many years to come. Thus, it is imperative that this component of the fence-building be performed cautiously and with utmost attention to detail.
Taking the property’s landscape and any existing obstructions into account, setting 4×4 fence posts begins with determining post placement. Calculating the distance between posts first off will keep the fence aligned and precise, so measure up before starting.
The next task is to craft ideal post holes for the specified locations. Legs as strong as oak and a steady arm must dig two foot deep cavities no wider than a foot in diameter. A post hole digger yields ideal rounded depressions. Take care not to mar the terrain around you when carving these regal abodes, as to preserve the splendor of the meadow.
After digging the holes, you must ensure that the posts are straight. A level will help you determine if they are or not; if adjustments need to be made, use either a shovel or post hole digger to alter the depth of the opening until a plumb result is achieved. To further secure this result, the base of each hole should be filled with a few inches of gravel; this promotes draining and lowers the probability of rot or unsteadiness with age.
The first order of business is to fill the dig with a quick-setting concrete mixture. Manually prepare the mixture as per the instructions on the package, and pour it into the post hole- being sure to keep it level. Using a tool such as a level or post hole digger will help assess whether the post is still in a plumb position and needs to be adjusted in terms of depth to ensure adequate stability.
Once the concrete has set and the posts are standing upright, it is time to complete the project with the addition of fence panels. To ensure evenness and accuracy, it is best to measure the gap between each post before installing the panels. Post caps or two-inch screws should be used to attach them securely to the posts. By following this guide, you can guarantee your fence will be straight and evenly spaced.
Lastly, the post holes must be filled. Take a shovel and scoop soil or gravel into the holes, ensuring no spaces or breaks are left. After that’s done, take the shovel again and even out the dirt or stones around the post’s bottom.
After all is said and done, properly establishing 4×4 fence posts with the utmost precision is rather straightforward. Taking due heed to line up, dig in, and fill up the posts’ hollows enables one to rest assured that their fence’s structure remains rock-solid. Worthwhile emphasizing, conversely, is exercising due care when excavating or pouring cement; doing so will help secure any neighboring environment from potential harm.
Related Product
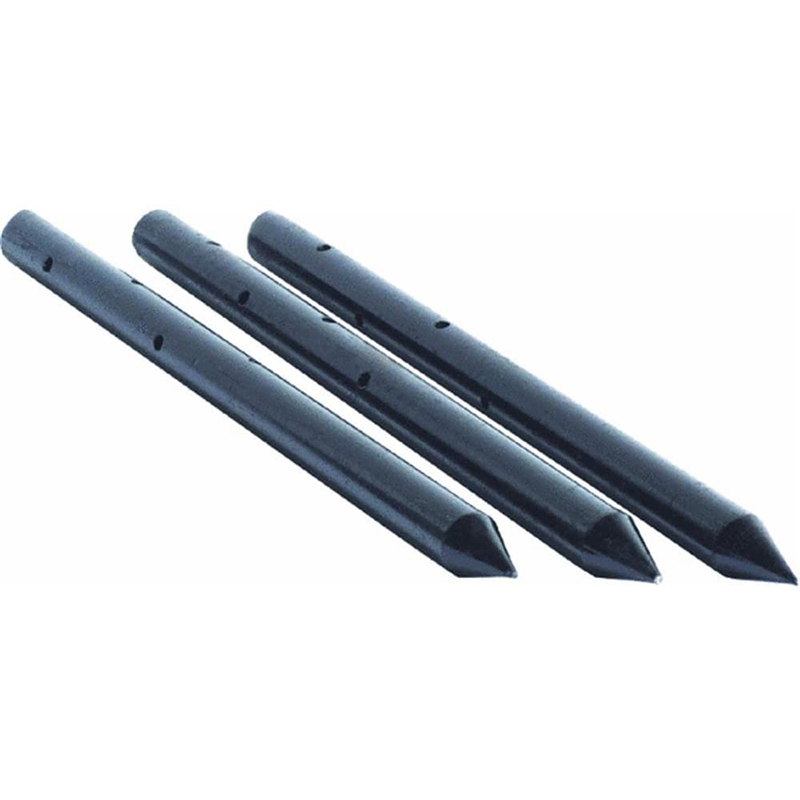
Nail Stake
Product information: Description Unit Pallet Weight(kg) 3/4″x12″ 10pcs/box 150boxes/pallet 0.6200 3/4″x18″ 10pcs/box 100boxes/pallet 0.9250 3/4″x24 […]
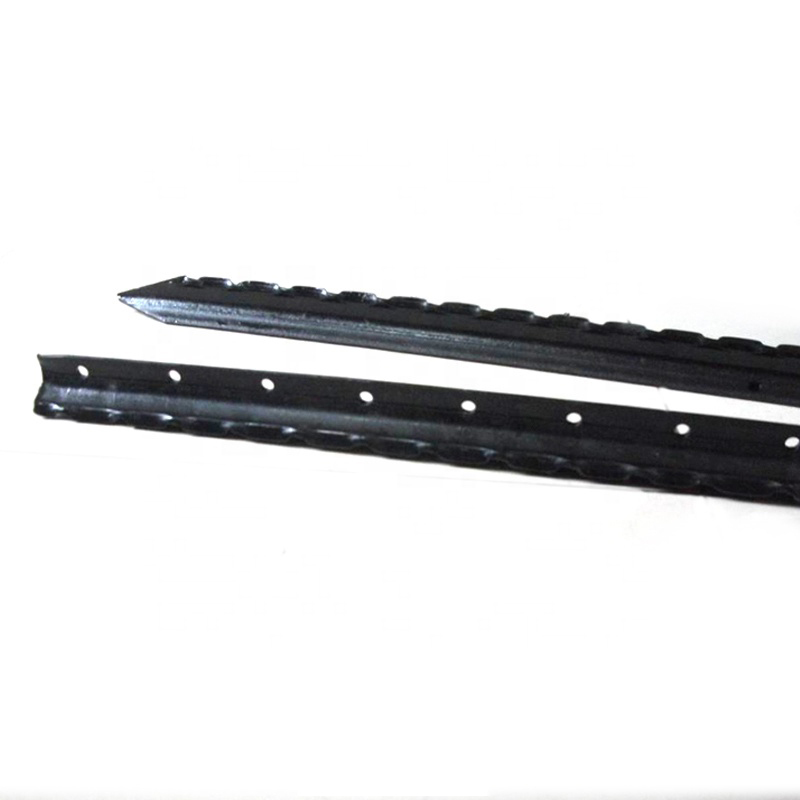
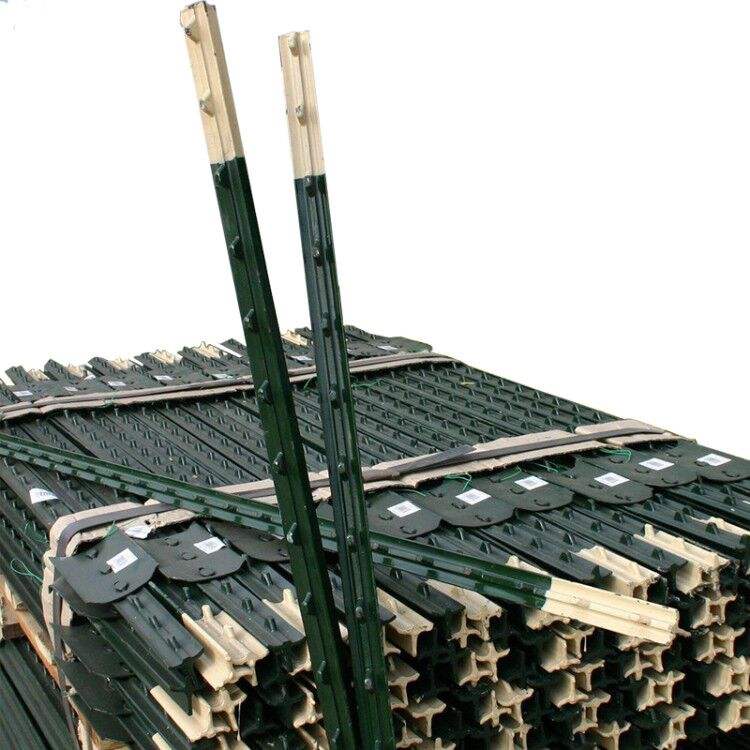
Israel Y Post
Y post with teeth provides the most reliable way of fencing wire attachment by threading the wire through the holds along the post, gripping the wire with is specially designed tee […]
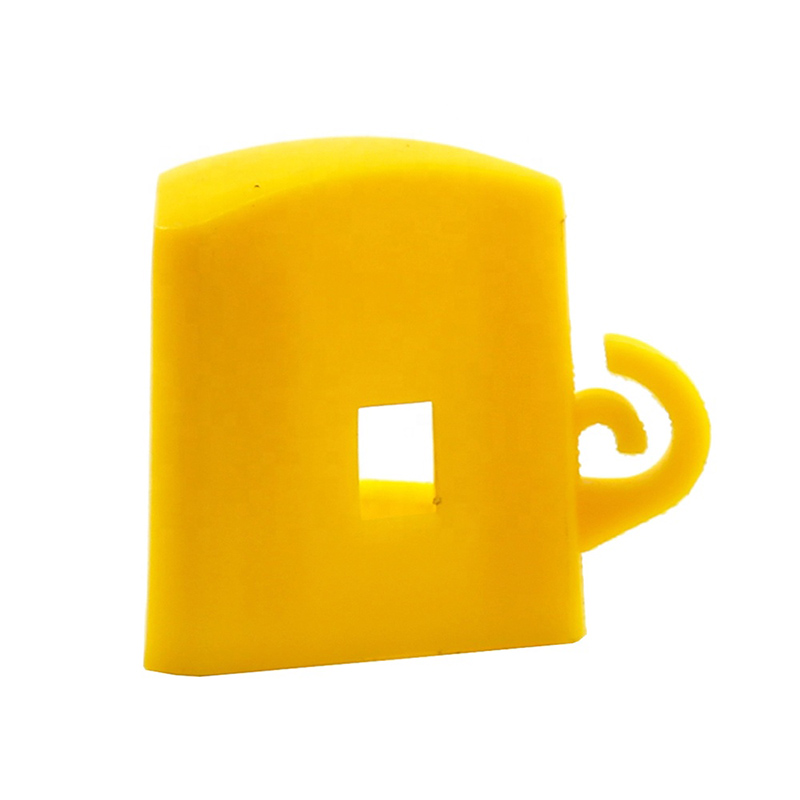
Y Post Cap
Y Posts Caps is also called safety cap or Star picket caps. It used for Y star picket . It can cover sharp edges of Y posts. Type Size(L x W X H) Thickness Weight Round 57x57x60mm […]
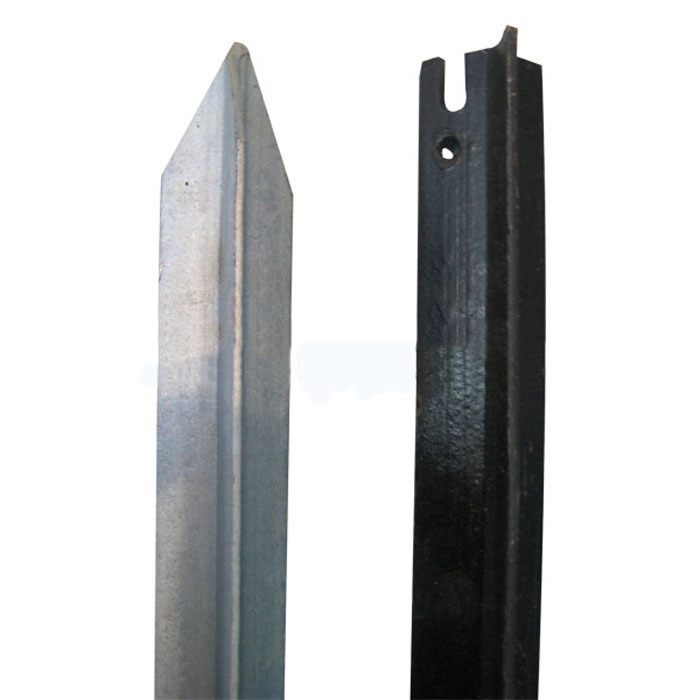
T Post
Material: rail steel Weight: 0.85,0.95,1.25,1.33lbs/ft etc Length: 5′-10′ etc Surface: painted with spade,painted no spade,unpainted with spade,unpainted without spade,hot-dipped g […]
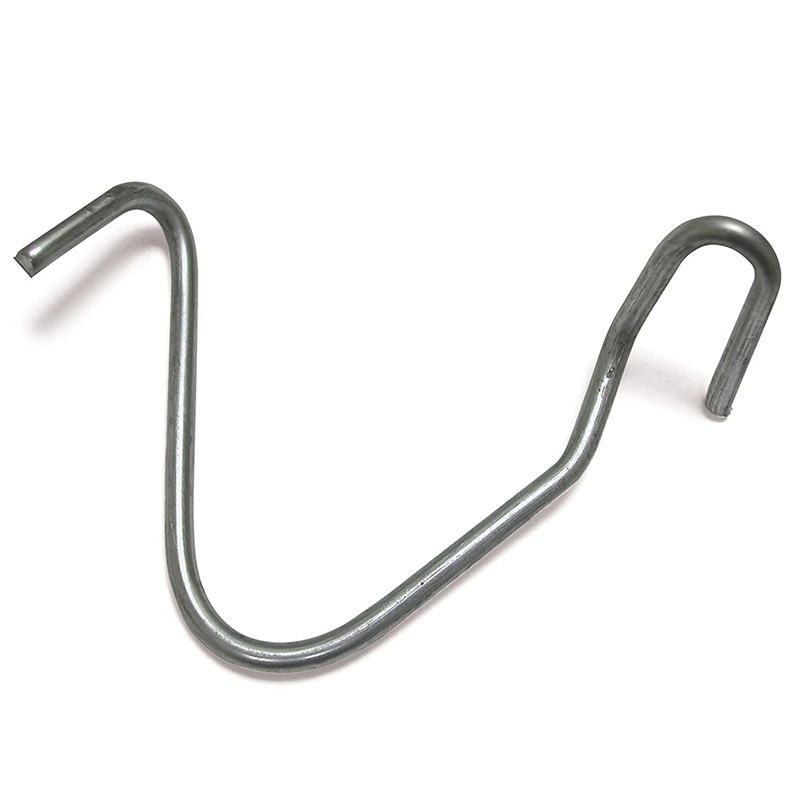
T Post Clip
These heavy duty T-post clips fit standard size 1.25 and 1.33 lb. studded T-posts. Manufactured from 11-1/2 gauge wire that is Hot-dipped galvanized, these clips are designed for f […]
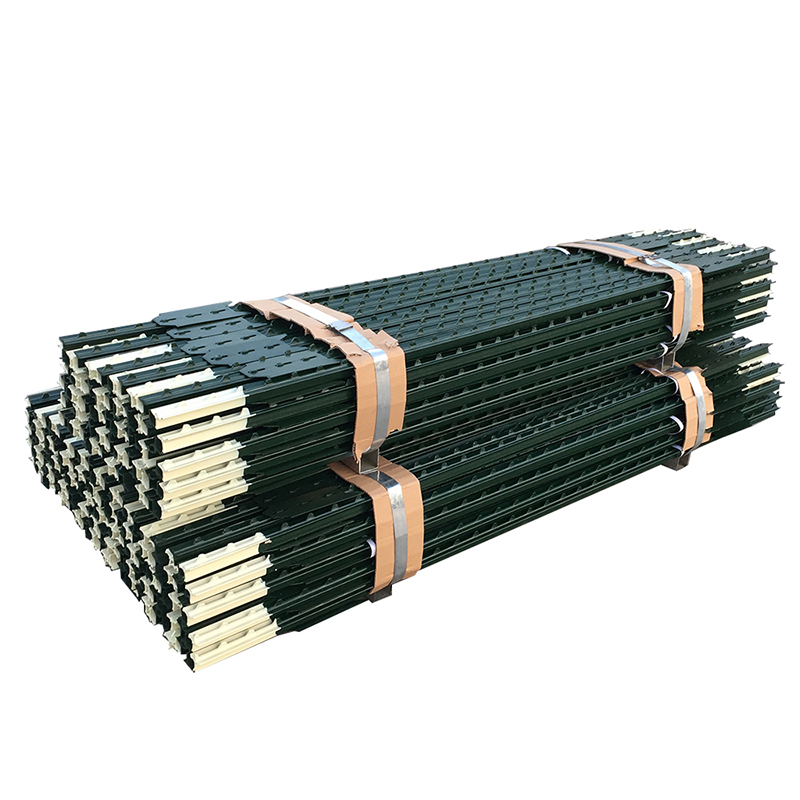
Studded T Post
material: rail steel weight: 0.85,0.95,1.25,1.33lbs/ft etc length: 5′-10′ etc surface: painted with spade,painted no spade,unpainted with spade,unpainted without spade,hot-dipped g […]
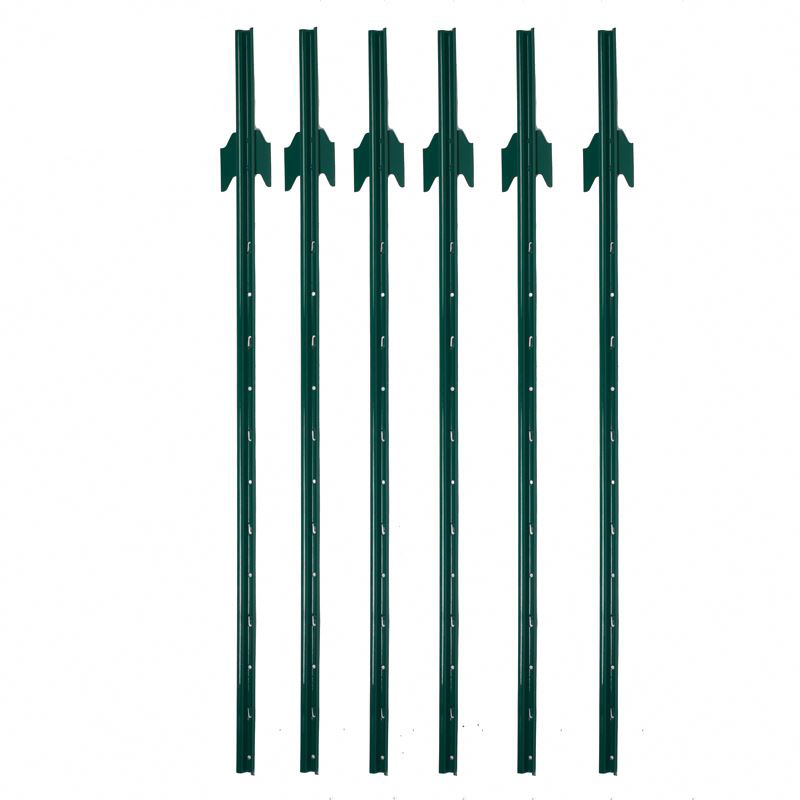
U Post
Heavy Duty Garden U Shaped Steel Fence Post With Spade Shape: U shape, with or without spade Material: low carbon steel, rail steel, etc. Surface: Powder coated Advantage: Easily A […]
Y Post
Length:1.35m,1.5m,1.65m,1.8m,2.4m etc Weight:1.58kgs,1.86kgs,1.9kgs,2.04kgs/m etc Surface:painted, Hot dip galvanized, No paint Usage:farm fencing,garden fencing Packing:400pcs/pal […]
Post time: 2023-07-10
