
For avid DIY enthusiasts searching for an afternoon project, the post corner brace project is the perfect solution. It is an accessible option for any skill level, providing a cost-effective way to strengthen outside areas like porches, decks, and patios in just a few hours. Furthermore, it offers the opportunity to give new life to garden staples; no longer will they be a burden but rather a reliable addition to a sturdy outdoor space.
If you’re constructing an outdoor structure with extra weight on it, such as a deck built on a slope, then you may need to bring in additional reinforcements. This is where a post corner brace comes into the picture. It’s a metal bracket designed to provide the extra support needed, making sure your structure is stable and strong. Patios, decks and other outdoor structures are especially in need of a post corner brace when faced with higher strength requirements.
To begin your post corner brace DIY project, you must purchase the necessary components needed to ensure a successful venture. These will be the post corner brace itself, along with requisite screws, drill bits, and a precise level for the job. Additionally, you should also find the right tools to ensure precision – a saw for cutting, a drill bit to size up the holes, and of course, a trusty hammer that will guarantee that the brace sticks in its rightful place.
After you have sourced your tools, you can start putting together the post corner brace. First, measure the posts that require support to determine the size of the suitable post corner brace. When the measurements are clear, you can buy the correct post corner brace of that size.
Procuring the proper post corner brace necessitates drilling predetermined holes with specific drill bits, all the while ensuring that safety goggles are worn for eye protection. It’s paramount to adhere to the instructions for successful installation.
After the holes have been bored, it’s time to fasten the post corner brace to the posts with screws. Make it a point to employ appropriate screws and ensure they are well secured. Align the post corner brace using a level to make sure it is leveled and keeping the posts propped up adequately.
The post corner brace is now in the correct position – time to secure it with screws! Ensuring that the drill bit is of the same size as the screws, fasten them firmly. With the screws now tightly fixed, it is possible to attach the posts to the post corner brace – be sure to use screws of the correct size and to adhere to the accompanying instructions!
Now the work is done and you can reap the rewards of this project. Not only does the corner post offer a bit of extra assistance, but it also gives you more fiscal flexibility in addition to being an uncomplicated task you can complete in a few hours. Doing it yourself is certainly a more economical choice.
DIYers looking to add reliable assistance to their decks, patios and other outdoor structures now have the perfect project – the post corner brace. This straightforward project only takes a few hours to complete and is a great way for those wanting to save money by doing the work themselves. The post corner brace provides increased support so you can freely enjoy your structure without any worry – just take care to see that all instructions listed with the brace are followed accurately.
For an effortless and economical solution to keep your beloved furniture upright, the post corner brace DIY is worth a try. This straightforward yet effective project offers quick and lasting stability to furniture with minimal investment.
A post corner brace is an absolute must for any joins between two pieces of wood at a corner. Without it, the connection won’t hold well, resulting in a wobbly end product. If you’re looking for an economical way to ensure your furniture pieces will stand firm, you can’t go wrong with the DIY post corner brace.
A post corner brace DIY is a straightforward undertaking that just needs a few components. For this venture, collect two wood pieces, a drill, some screws, and a post corner brace. This metal bracket is designed to secure the corner of two wood pieces. After – using the drill to create holes for the screws – the post corner brace can be fastened to the wood.
When you’re ready to begin, start by getting out your measuring tape. Measure both the width and length of the corner and note down the results. Then, mark the corner with a pencil so you know exactly where to place the screws. Lastly, use a drill to make holes – this will be the foundation for fastening your materials together.
The subsequent step is to secure the post corner brace onto the wooden area. To ensure that it’s centered, position the bracing atop the corner. Utilize the screws to affix the brace comprehensively to the wood, ensuring that they are stabilized and firm.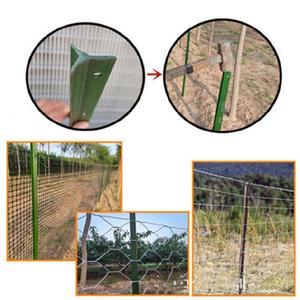
After the post corner brace is positioned, you can employ it to bond two bits of wood as one. To guarantee the furniture is stable and secure, it can be glued with wood adhesive or screwed together. In the end, you’ll have a secure piece of furniture that won’t shake or drift.
Looking for a cost-effective way to ensure the sturdiness of your furniture pieces? The post corner brace DIY can provide you with the added security you need to make sure everything remains intact. This straightforward solution is simple to set up and can help you maintain the stability of your furniture with just the push of a few buttons. Put your worries aside with this hassle-free approach – the post corner brace DIY is here to keep your furniture pieces in place!
Related Product
T Post Clip
These heavy duty T-post clips fit standard size 1.25 and 1.33 lb. studded T-posts. Manufactured from 11-1/2 gauge wire that is Hot-dipped galvanized, these clips are designed for f […]
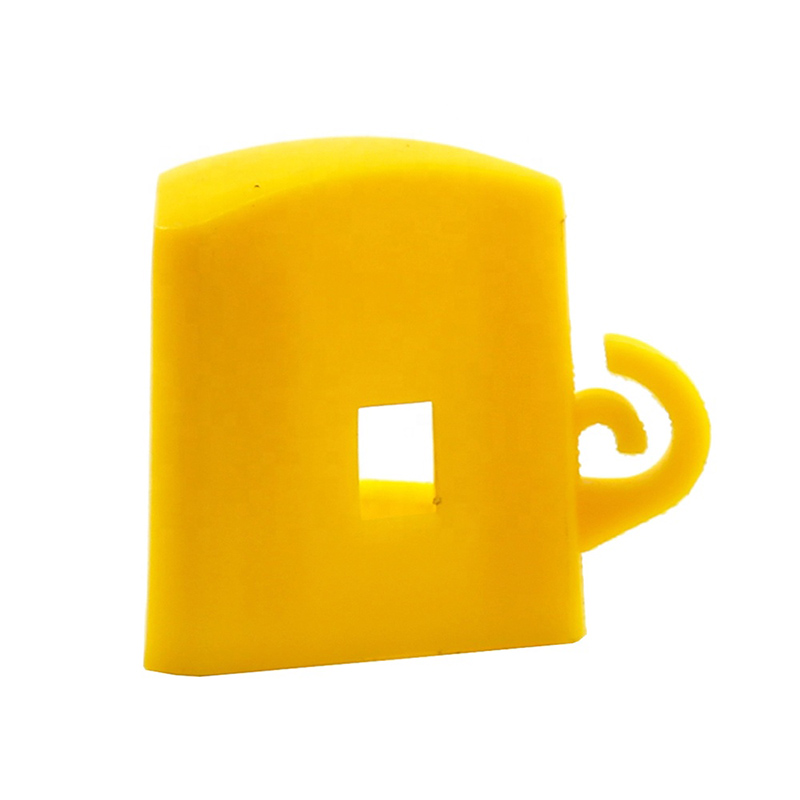
Y Post Cap
Y Posts Caps is also called safety cap or Star picket caps. It used for Y star picket . It can cover sharp edges of Y posts. Type Size(L x W X H) Thickness Weight Round 57x57x60mm […]
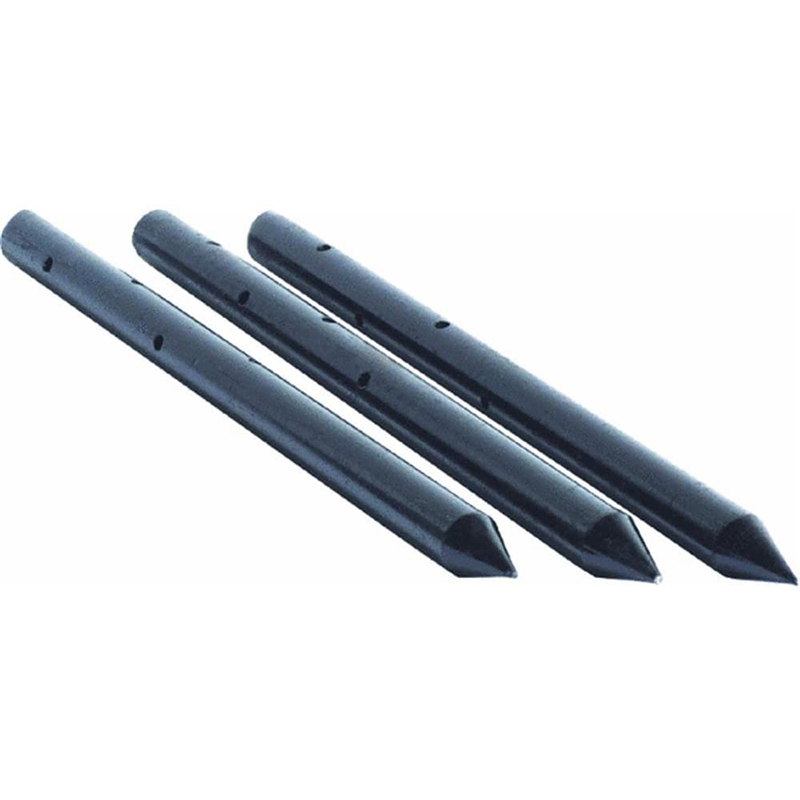
Nail Stake
Product information: Description Unit Pallet Weight(kg) 3/4″x12″ 10pcs/box 150boxes/pallet 0.6200 3/4″x18″ 10pcs/box 100boxes/pallet 0.9250 3/4″x24 […]
T Post
Material: rail steel Weight: 0.85,0.95,1.25,1.33lbs/ft etc Length: 5′-10′ etc Surface: painted with spade,painted no spade,unpainted with spade,unpainted without spade,hot-dipped g […]
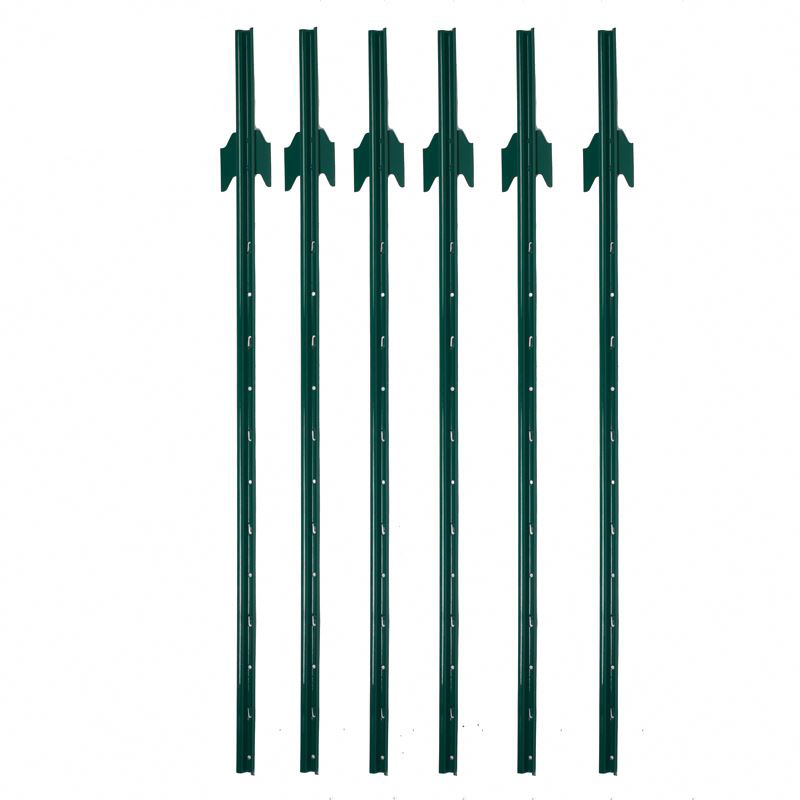
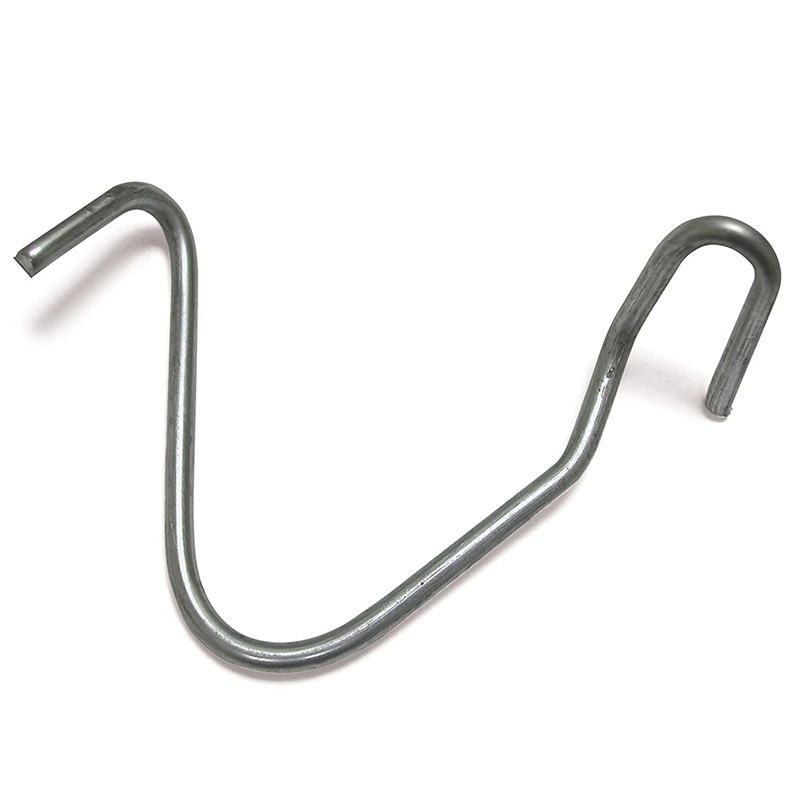
U Post
Heavy Duty Garden U Shaped Steel Fence Post With Spade Shape: U shape, with or without spade Material: low carbon steel, rail steel, etc. Surface: Powder coated Advantage: Easily A […]
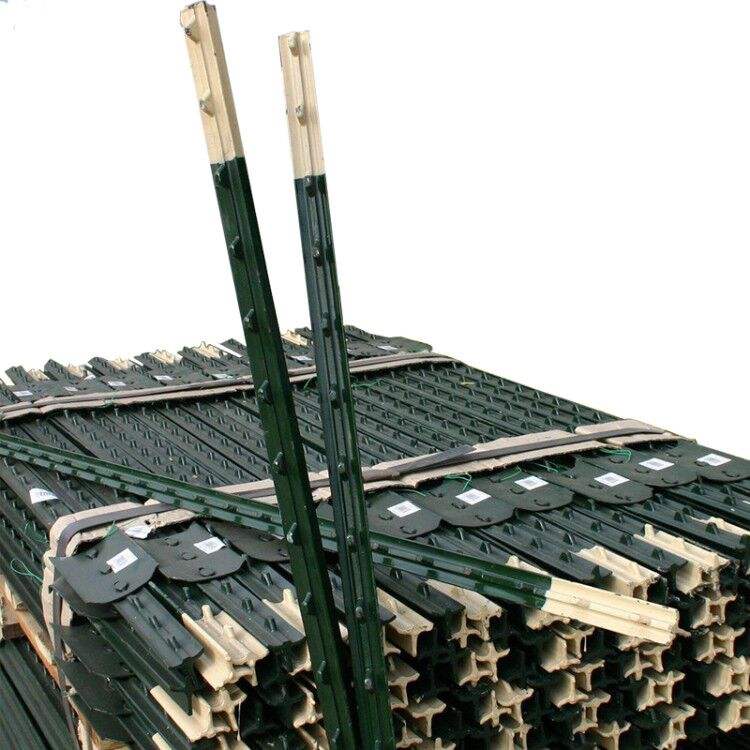
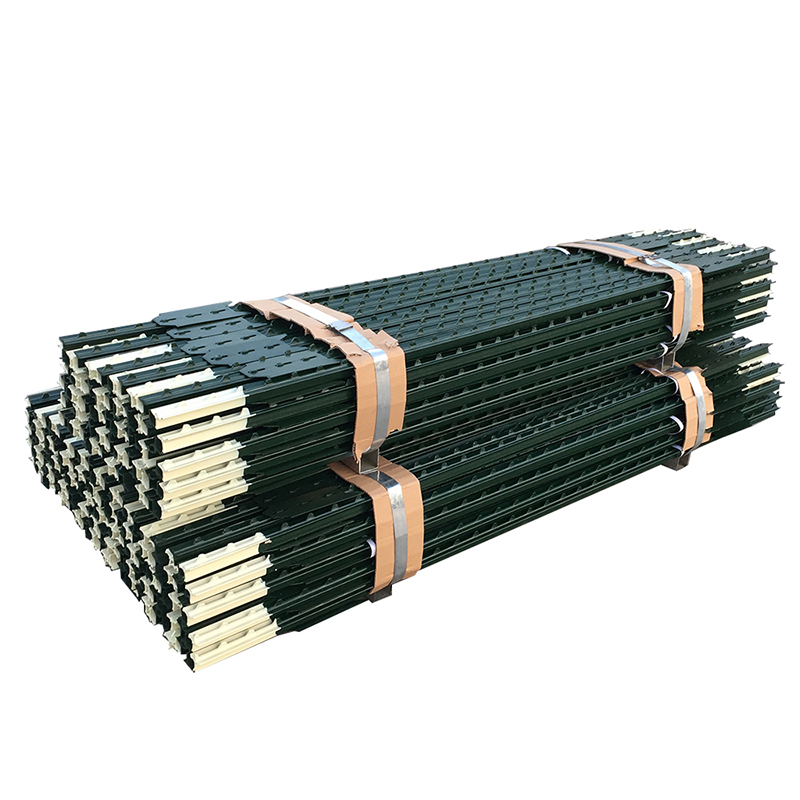
Y Post
Length:1.35m,1.5m,1.65m,1.8m,2.4m etc Weight:1.58kgs,1.86kgs,1.9kgs,2.04kgs/m etc Surface:painted, Hot dip galvanized, No paint Usage:farm fencing,garden fencing Packing:400pcs/pal […]
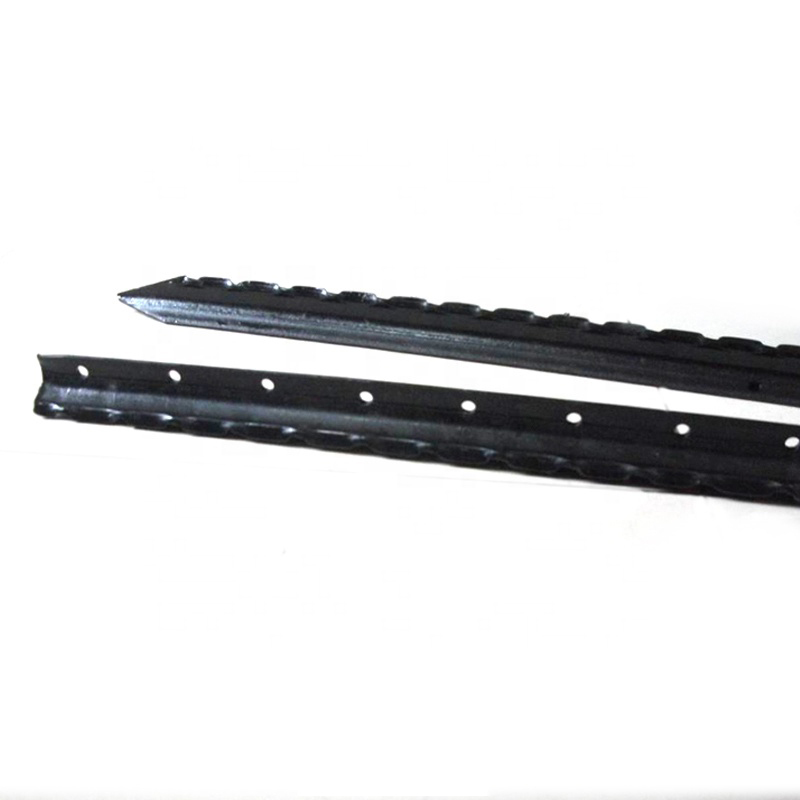
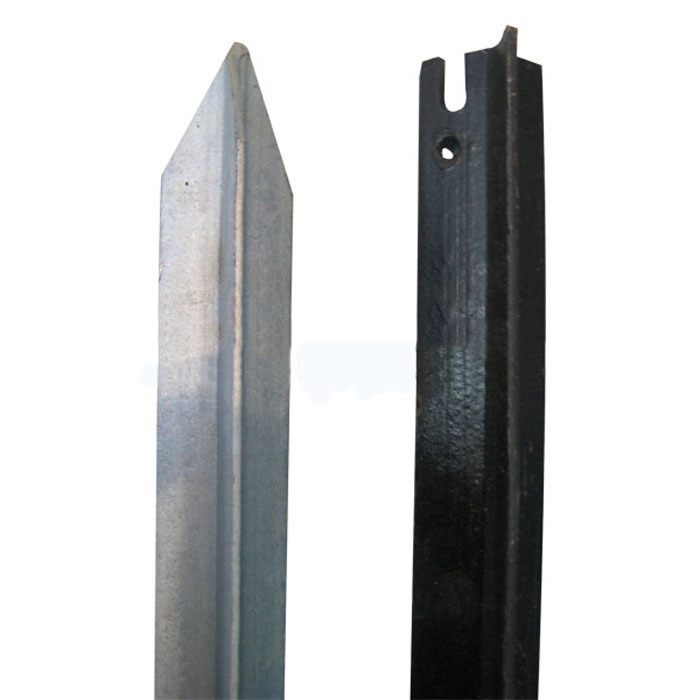
Israel Y Post
Y post with teeth provides the most reliable way of fencing wire attachment by threading the wire through the holds along the post, gripping the wire with is specially designed tee […]
Studded T Post
material: rail steel weight: 0.85,0.95,1.25,1.33lbs/ft etc length: 5′-10′ etc surface: painted with spade,painted no spade,unpainted with spade,unpainted without spade,hot-dipped g […]
Post time: 2023-07-25
