
Fencing In: Constructing Secure Boundaries – A Step-by-Step Guide
Laying the groundwork for a secure fence is all in the installation of the posts. This crucial component is, after all, the foundation on which your fence will depend – so it is essential to get it right from the start. To make sure that you set your fence posts correctly, here is a detailed guide to guide you every step of the way.
Selecting a Suitable Fence Post
Identifying the optimal fencing material is the initial move in setting fence posts. This will vary based on your choice of fence. If you prefer a wooden fence, then pressure-treated wood should be part of your plan. Conversely, metal posts should be used to construct a metal fence. Making certain that your fencing material is accurate is crucial for it to endure over time.
Establishing Posts: Measure and Mark
Before you can begin constructing your fence, you must ensure that your posts are placed in the desired spots. When using wooden posts, measure from the ground up and use a pencil or marker to mark them. When erecting a metal fence, ensure levelness by utilizing a spirit level and measuring tape. Marking the posts with care is vital for an accurate installation.
Let the Process of Excavation Begin: Digging Post Holes
After constructing the posts, the next step requires a bit of digging. To ensure each post is firmly entrenched, you’ll need a post-hole digger or shovel to finish the job. Make sure to dig the holes deep enough so that the posts will never be in danger of tipping over.
Slotting Posts into their Cavities
Once you have cracked the earth, you are able to set the posts down into their resting places. Guarantee that they remain level and accurately positioned. Utilize a level for verification that the posts are square and straight.
Patching with Cement: The Next Step.
After the posts are standing tall, it is time to add a layer of security to keep them in place. Using a concrete mix specifically designed for this type of use, fill the post holes until the posts are completely covered. Make sure to be even-handed with your efforts and that the mix is distributed equally throughout, so that each post will remain firmly entrenched in the ground.
Securing the Fencing: The Final Step
When it comes time to secure the fence panels, the process differs depending on the structure you have decided to create. If you have chosen wood as your material of choice, then nails or screws will be the best solution for attaching the panels. However, if it is a more modern metal fence that you are constructing, then bolts or rivets will be necessary to affix the panels.
Getting your fence post set up right the first time is key for its security, longevity, and stability. Thus, it is important to carefully follow the instructions below if you plan to tackle this task yourself. Alternatively, if you’d rather leave it to an expert, reach out to a professional. He/she will be able to direct you on the best stuff to use and how to properly install your fence.
Constructing a secure fence relies heavily upon the installation of strong posts. Without them, the fence is unlikely to have the durability and reliability it was intended to offer. To guarantee success, we have compiled this comprehensive guide to setting your fence posts, complete with tips to ensure the job is expertly accomplished.
Before starting to construct the fence, you ought to make sure that you have the essential items to complete the job. This consists of the posts, post caps, brackets, and screws. Additionally, you will need to acquire a shovel, sledgehammer, level, and a post hole digger. When all these materials are in hand, you can then get things underway.
To properly line up the fence posts, twofold measuring and marking of the designated space is a must. Spray paint or flags can help when it comes to illustrating the defined area. With that done, descending to dig out post holes may then take place. The depth and breadth of these holes will depend on factors such as the size of the post and what kind of soil exists there. Nonetheless, as a rule of thumb, a normal post hole should typically measure two feet deep and boast a six-inch-diameter.
Setting the posts is the next step in the process. Begin by inserting the posts into their trenches and making sure they remain vertical with a level. If the posts are not upright, they will lack the stability and rigidity that you require. Then, add a few inches of gravel to the bottom of all the post holes for better drainage, and to keep the posts from becoming saturated by water.
Now that the posts are set in position, you can proceed with stuffing up the post holes with soil. Firmly compress the earth around the post to guarantee its steadiness and lend extra sturdiness. Once the soil is firmly compacted, secure the posts using post brackets and screws fastened to the ground.
With the posts firmly embedded in the ground and prepared for further construction, it is important to ensure they are secure by adding post caps to their tops. This added layer of protection is integral in preserving the posts from potentially harmful weathering and moisture. Have a broad look at the posts one final time; make sure they are level and successfully rooted before commencing to the following step of the procedure.
Crafting a sturdy fence begins with setting secure posts. From measuring out the space to properly digging and securing them, investing time into this work will guarantee your fence will stand tall for years to come. Mark the area, excavate the holes, firmly set the posts, then lock them in – all of this working together will guarantee your posts are suitably placed and braced for whatever needs they have to face.
Related Product
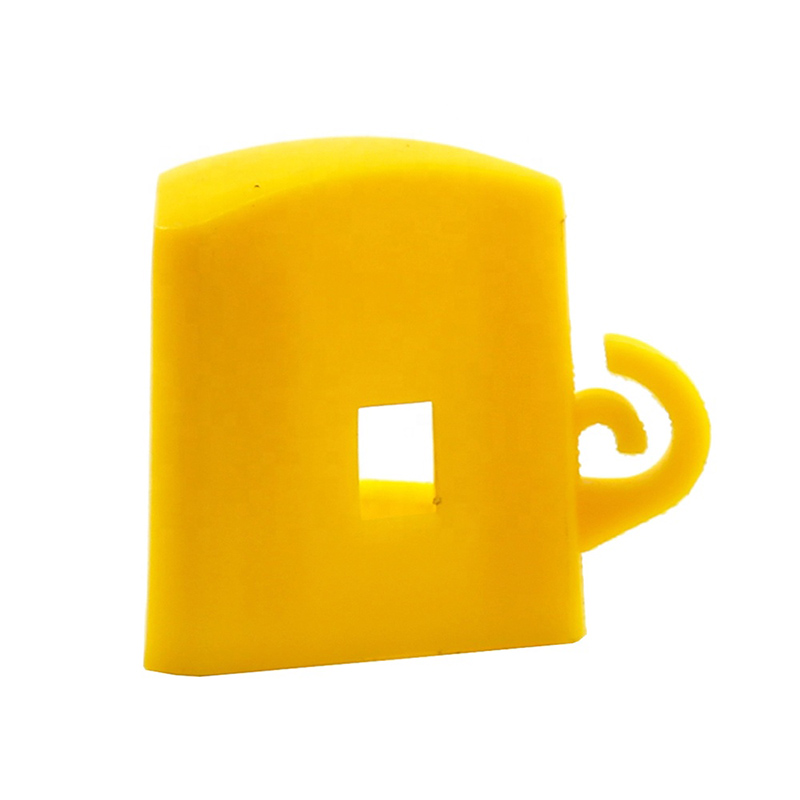
Y Post Cap
Y Posts Caps is also called safety cap or Star picket caps. It used for Y star picket . It can cover sharp edges of Y posts. Type Size(L x W X H) Thickness Weight Round 57x57x60mm […]
Israel Y Post
Y post with teeth provides the most reliable way of fencing wire attachment by threading the wire through the holds along the post, gripping the wire with is specially designed tee […]
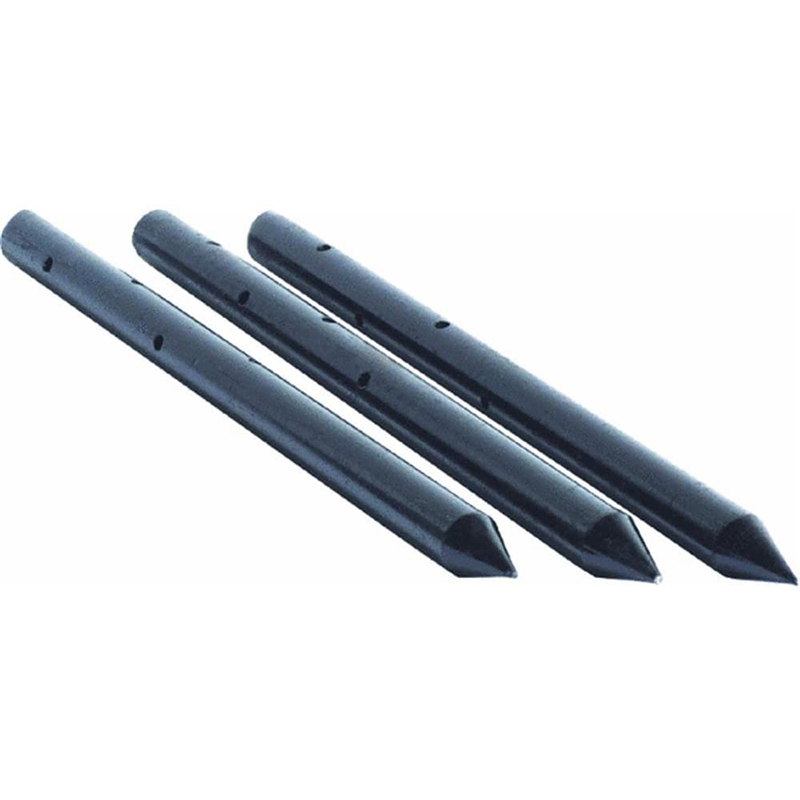
Nail Stake
Product information: Description Unit Pallet Weight(kg) 3/4″x12″ 10pcs/box 150boxes/pallet 0.6200 3/4″x18″ 10pcs/box 100boxes/pallet 0.9250 3/4″x24 […]
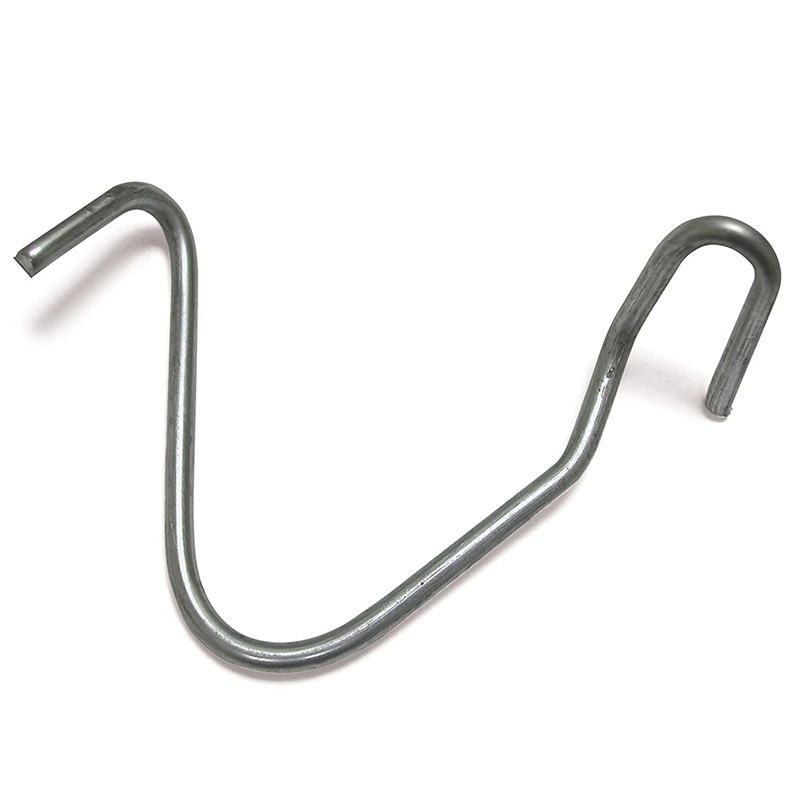
T Post Clip
These heavy duty T-post clips fit standard size 1.25 and 1.33 lb. studded T-posts. Manufactured from 11-1/2 gauge wire that is Hot-dipped galvanized, these clips are designed for f […]
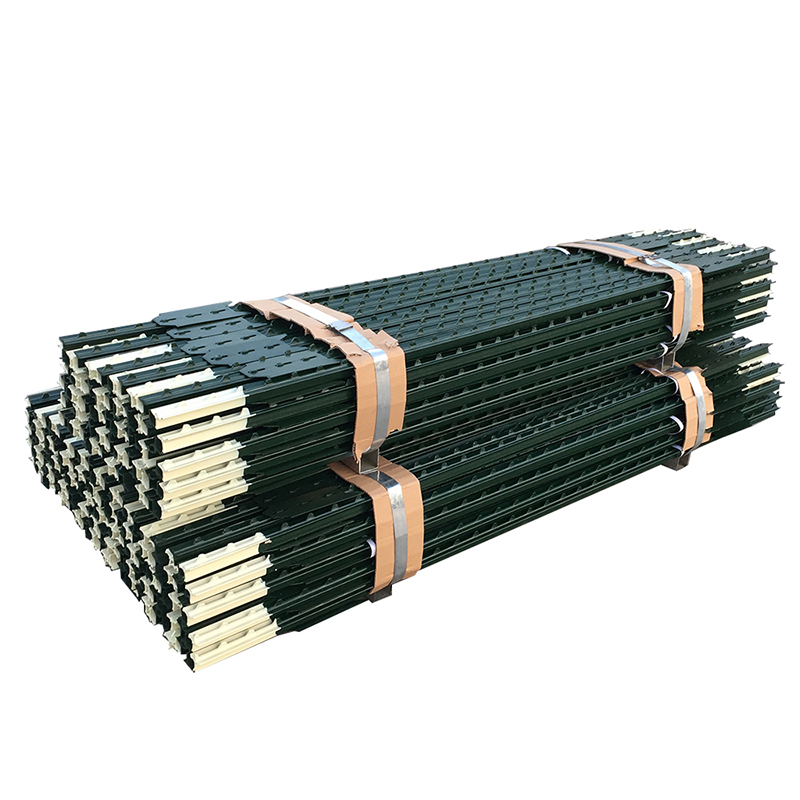
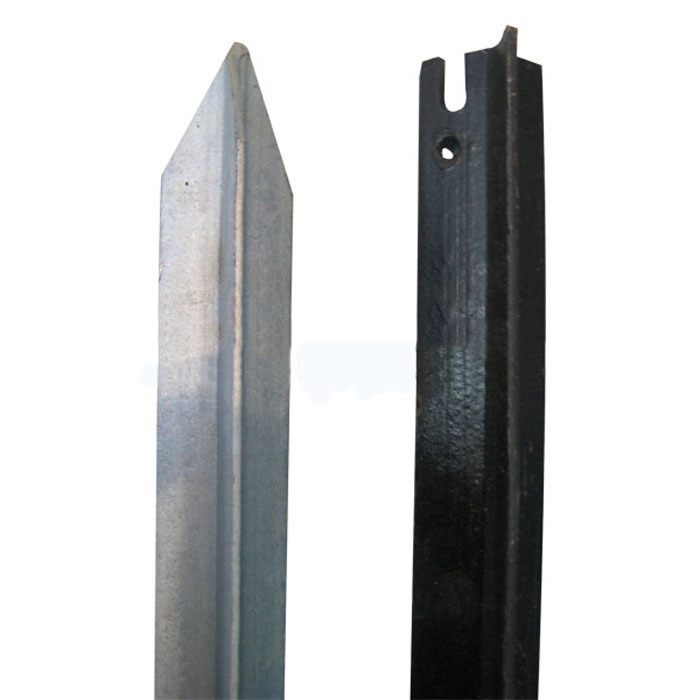
T Post
Material: rail steel Weight: 0.85,0.95,1.25,1.33lbs/ft etc Length: 5′-10′ etc Surface: painted with spade,painted no spade,unpainted with spade,unpainted without spade,hot-dipped g […]
U Post
Heavy Duty Garden U Shaped Steel Fence Post With Spade Shape: U shape, with or without spade Material: low carbon steel, rail steel, etc. Surface: Powder coated Advantage: Easily A […]
Studded T Post
material: rail steel weight: 0.85,0.95,1.25,1.33lbs/ft etc length: 5′-10′ etc surface: painted with spade,painted no spade,unpainted with spade,unpainted without spade,hot-dipped g […]
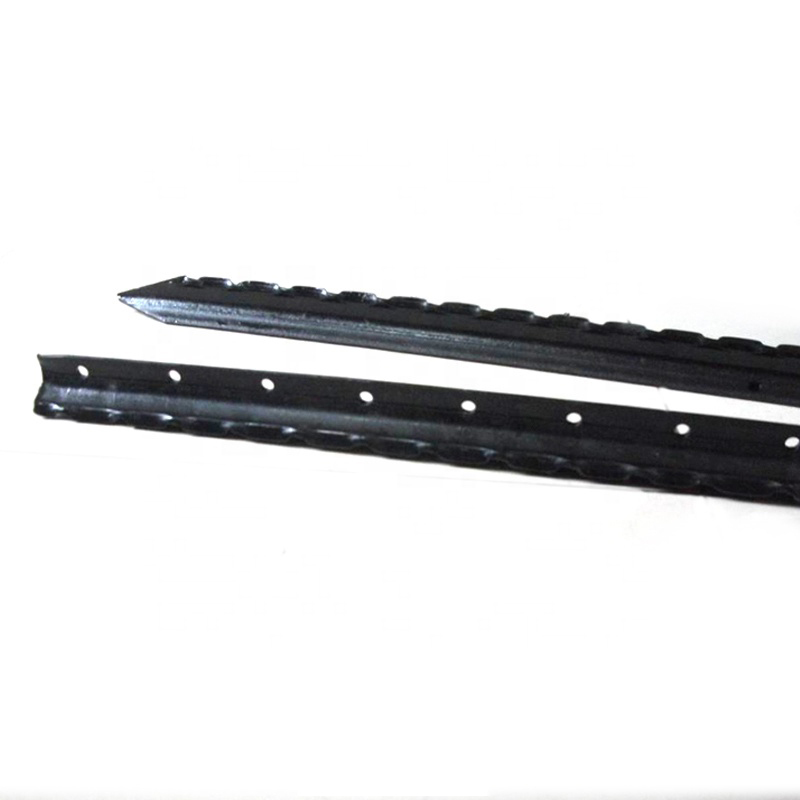
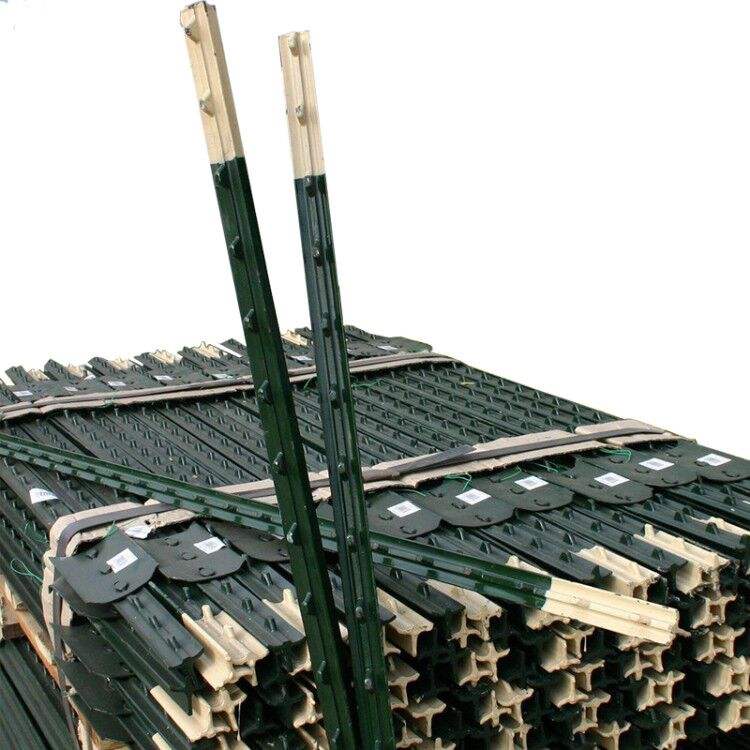
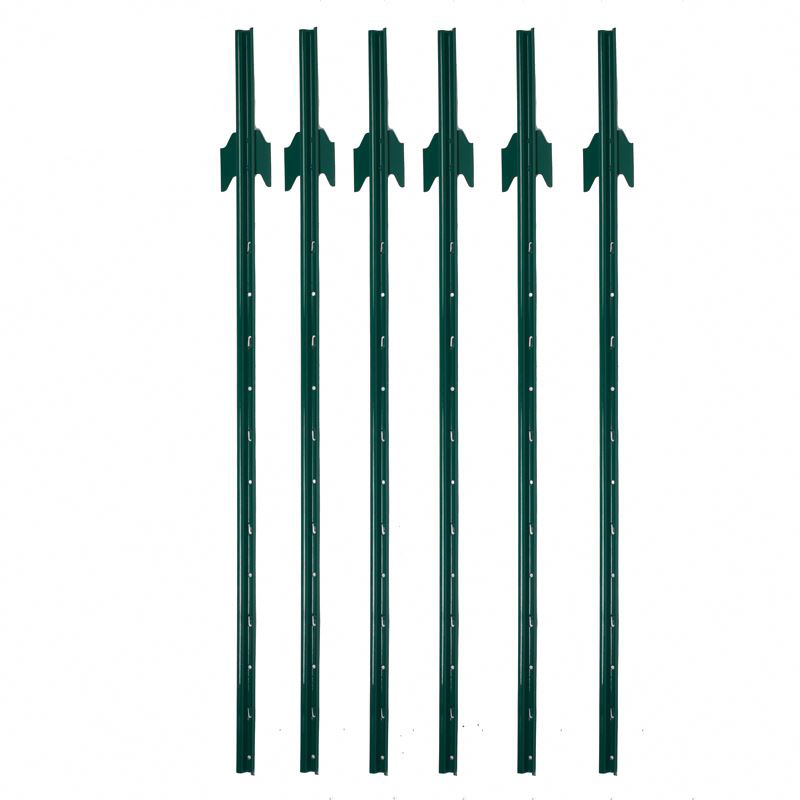
Y Post
Length:1.35m,1.5m,1.65m,1.8m,2.4m etc Weight:1.58kgs,1.86kgs,1.9kgs,2.04kgs/m etc Surface:painted, Hot dip galvanized, No paint Usage:farm fencing,garden fencing Packing:400pcs/pal […]
Post time: 2023-07-12
