
Creating the perfect fence necessitates accuracy while wielding tools and supplies, along with persistence and familiarity with the resources in use. But, with access to the right instruments, and some instruction, anybody can easily craft a stable enclosure out of metal posts in mere minutes.
Before embarking on your project, ensure that you have gathered the required resources – from a post hole digger and metal fence post to a level and concrete mix, while also having a shovel, trowel, and mallet on hand. These items are essentials for the task at hand.
Prior to erecting your metal fence posts, you’ll have to accurately map out the area. Start by measuring the entire length of your proposed fence line. Then pinpoint the designated spots for each individual post, making sure that there’s an adequate amount of spacing between them for your fence to fit flatly.
To ensure stability, the posts require holes of a certain depth. The ideal tool for this task is a post hole digger. Before beginning, it’s important to clear away any dirt, pebbles, or other things that could potentially obstruct the hole. By heeding this advice, you’ll have your posts firmly planted in no time!
Once the holes in the earth are excavated, it’s time to begin constructing the posts. Using a mixing device of your choice, blend together the concrete to make sure that it forms correctly. Then, take your measurements and dump the mixture into the prepared cavities. Work quickly to distribute the substance evenhandedly with a tool suited for this purpose, the trowel, and ensure that each post is leveled with its environment.
Now is when the reinforcement of the fence begins. Insert the posts into their respective post holes, using a level to guarantee they’re in line. Once the vertical uniformity of each post has been viably achieved, hammer them into their spots with a mallet.
After setting the posts in place, firmly fill in the area around them with a shovel, compacting the soil extensively as you go. Doing so will firmly secure the posts and keep them upright.
You are now all set to add the new metal fence – simply go through the steps outlined in the accompanying manual for a smooth installation.
Working at a leisurely pace and being methodical can go a long way towards achieving a worthwhile end result; that’s exactly the case when putting up metal fencing. With the right instruments and a bit of know-how, you’ll soon find yourself in possession of a sophisticated structure that complements your property. Just take your time and adhere to the instructions provided here for a satisfying outcome.
Fences built with metal posts can last for many years if these are installed properly. Here, we show you an easy guide on how to efficiently secure your fence posts in a few simple steps. With a bit of time and skill, you can quickly set up your beautiful metal fence.
Gathering the essential materials for installing the metal fence posts comes first: these include a post hole digger, a level device, gravel, concrete, and, of course, the metal fence posts! Now that you have all the components ready, you can begin the process of embedding the metal fence posts.
Establishing the posts for a metal fence involves taking the first step to decide where they should be set up. It’s imperative that these posts are installed in an unbroken line, equidistant and evenly spaced apart. After their respective spots have been determined, then comes the job of excavating the holes that need to go even deeper than the size of the post to be embedded and wide enough for the pouring of concrete to secure them in place.
Unequivocally, it’s time to load up the post hole with gravel when digging is completed. The gravel layer ought to be about two inches deep and make sure the gravel is spread evenly throughout the post hole. When everything is ready, it’s time to commence levelling. To guarantee a level post hole in both directions, you should take out a leveller and assess the situation.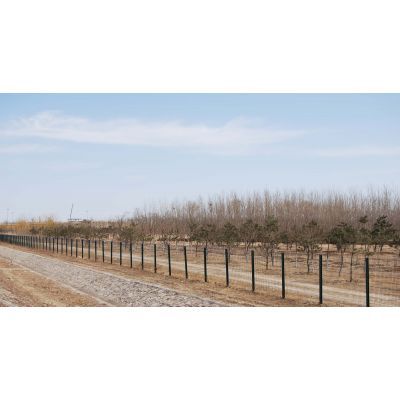
Now that your post hole is nicely leveled, you can start adding the concrete mix. You will want to pour it in until it reaches a depth of three inches below the ground line. Once that’s done, slide your metal fence posts into the mix, checking that they are standing straight and level and firmly rooted in the concrete mix.
After the posts are in their rightful spot, it’s time to up the ante. You’ll need to fortify the circumference of the post hole with concrete mix, stirred together with a cement-to-sand ratio of one-to-three. Awesome! Fill the post hole up until it’s even with the rim and you’re good to go.
With your work almost complete, all that remains is to compress the concrete mix against the metal fence posts. This can be called for conveniently using a tamper or, alternatively, you may opt for the manual way and fill the job in with a shovel. When you are happy with how it looks, fill what is left of the post hole up with loose soil. Doing this not only shores up the concrete mix but additionally polishes off the metal fence posts from being exposed to corrosion.
After the spike-like metal fence posts are securely entrenched in the ground, proceeding to attach your chosen fencing material is the next logical step. Utilize nails, screws, or whatever other fasteners are needed to complete this task based on the type of fencing you have chosen. Just remember to glance over the manufacturer’s guidelines when attaching the fencing panels to the fence posts.
Careful, patient execution of the steps given in this article can bring about a strong fence post made of metal, guaranteed to be dependable for many years to come. Setting these metal poles right is far from challenging, provided the procedure is taken seriously.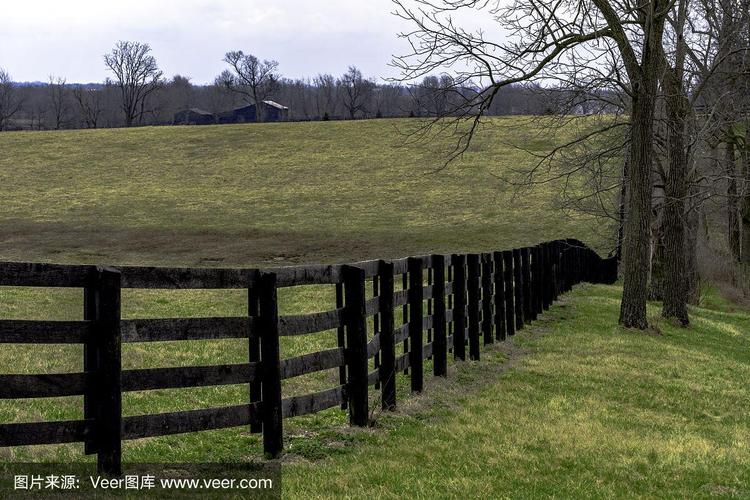
Related Product
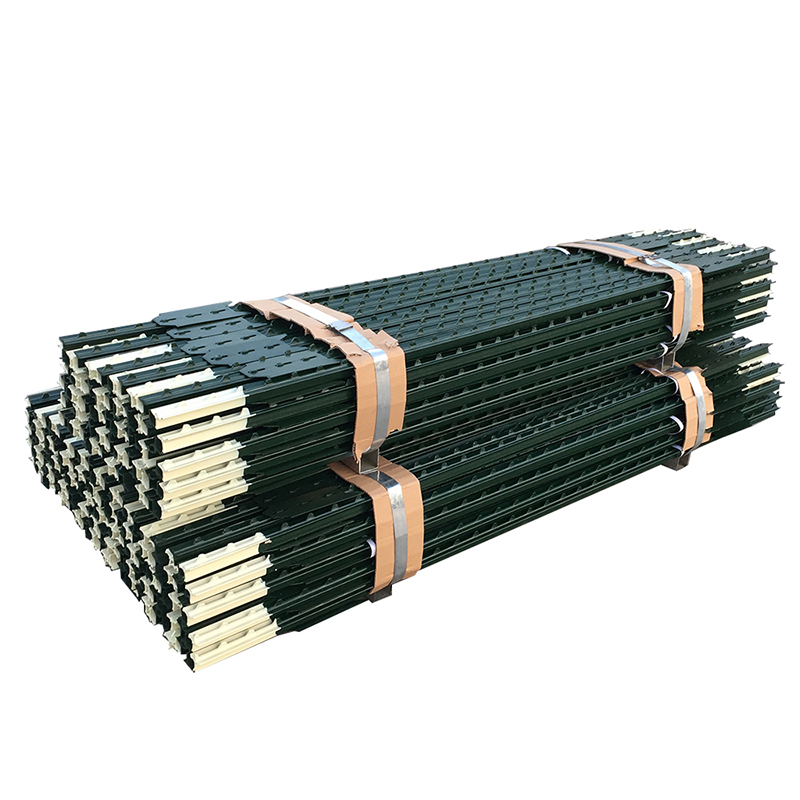
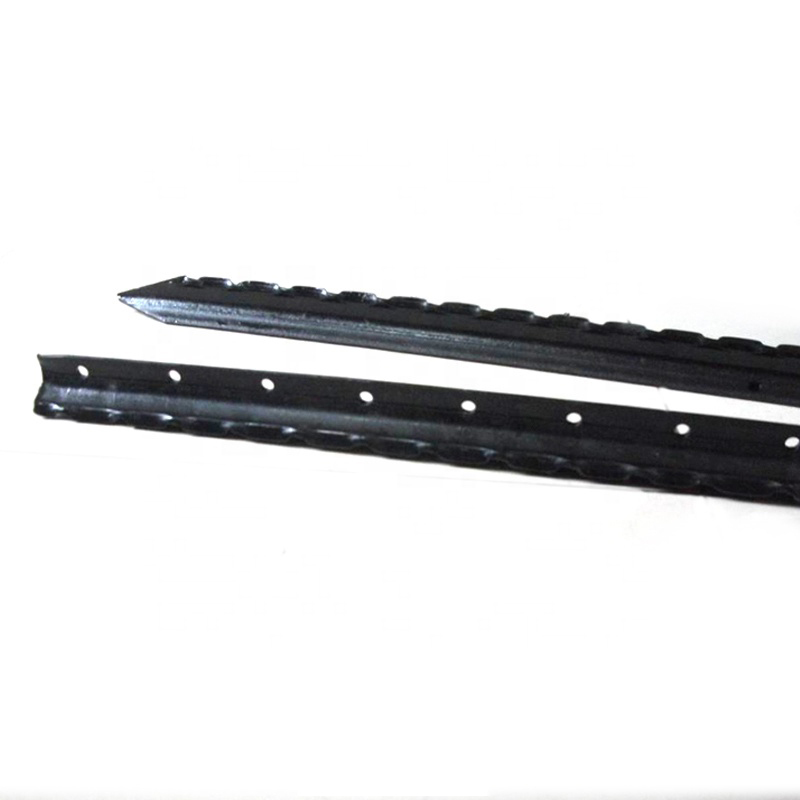
Studded T Post
material: rail steel weight: 0.85,0.95,1.25,1.33lbs/ft etc length: 5′-10′ etc surface: painted with spade,painted no spade,unpainted with spade,unpainted without spade,hot-dipped g […]
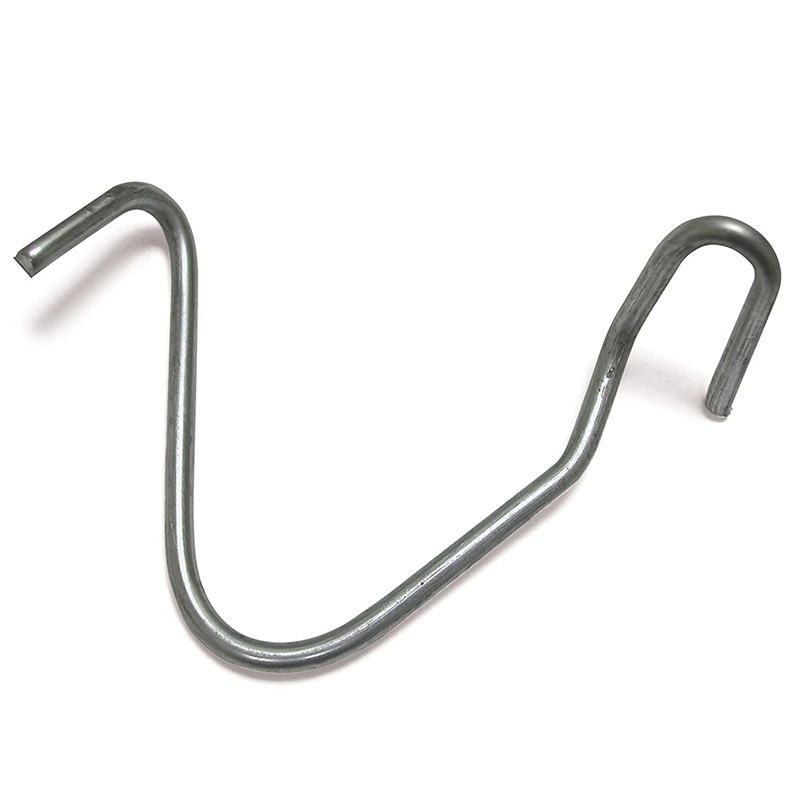
T Post Clip
These heavy duty T-post clips fit standard size 1.25 and 1.33 lb. studded T-posts. Manufactured from 11-1/2 gauge wire that is Hot-dipped galvanized, these clips are designed for f […]
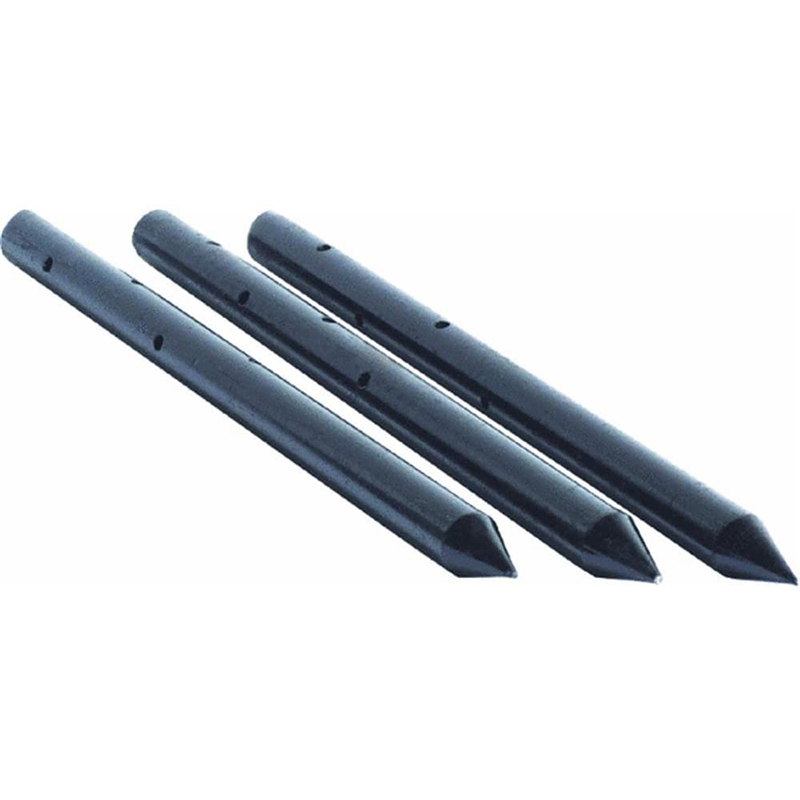
Nail Stake
Product information: Description Unit Pallet Weight(kg) 3/4″x12″ 10pcs/box 150boxes/pallet 0.6200 3/4″x18″ 10pcs/box 100boxes/pallet 0.9250 3/4″x24 […]
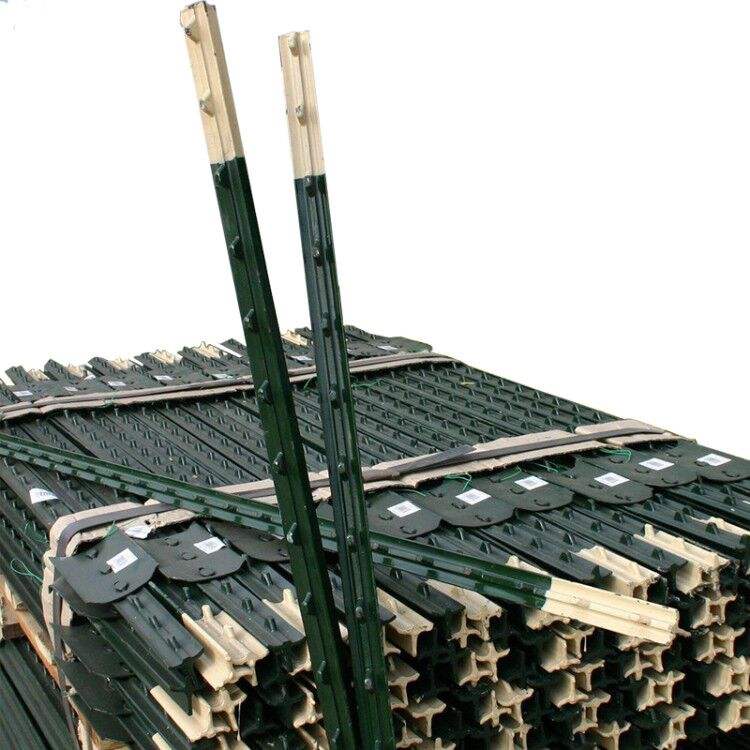
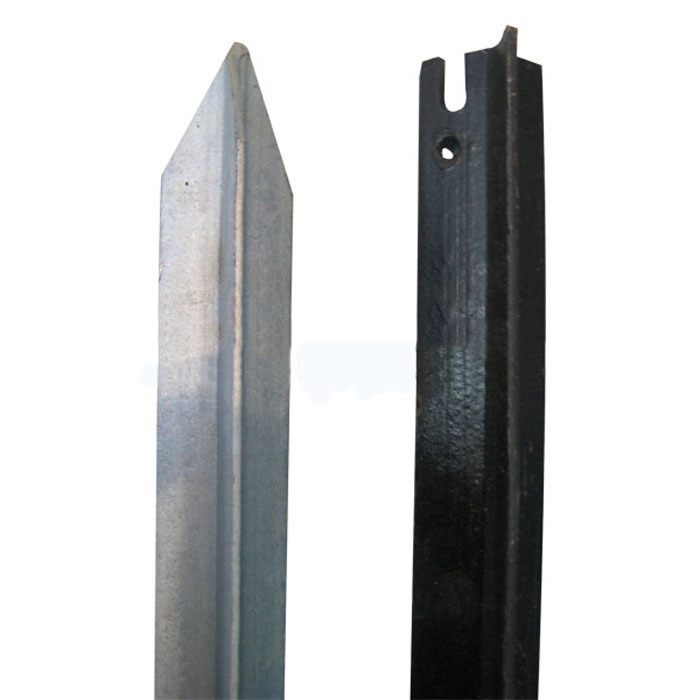
T Post
Material: rail steel Weight: 0.85,0.95,1.25,1.33lbs/ft etc Length: 5′-10′ etc Surface: painted with spade,painted no spade,unpainted with spade,unpainted without spade,hot-dipped g […]
Israel Y Post
Y post with teeth provides the most reliable way of fencing wire attachment by threading the wire through the holds along the post, gripping the wire with is specially designed tee […]
U Post
Heavy Duty Garden U Shaped Steel Fence Post With Spade Shape: U shape, with or without spade Material: low carbon steel, rail steel, etc. Surface: Powder coated Advantage: Easily A […]
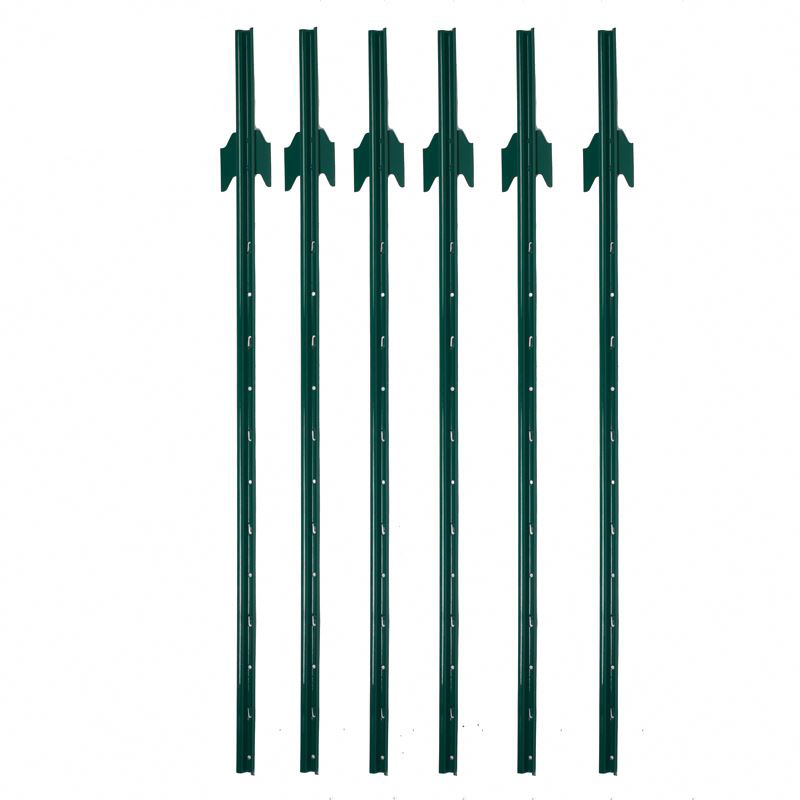
Y Post
Length:1.35m,1.5m,1.65m,1.8m,2.4m etc Weight:1.58kgs,1.86kgs,1.9kgs,2.04kgs/m etc Surface:painted, Hot dip galvanized, No paint Usage:farm fencing,garden fencing Packing:400pcs/pal […]
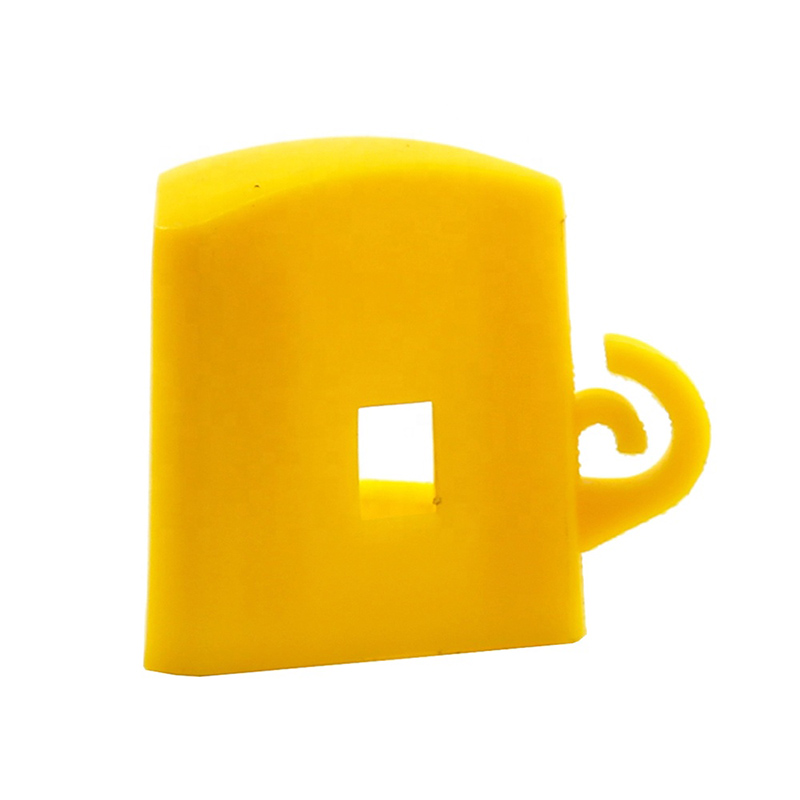
Y Post Cap
Y Posts Caps is also called safety cap or Star picket caps. It used for Y star picket . It can cover sharp edges of Y posts. Type Size(L x W X H) Thickness Weight Round 57x57x60mm […]
Post time: 2023-07-19
