
If you’re looking to erect a solid and reliable fence, then getting the fence posts in properly is the key to achieving this. It’s an easy job, but it does call for a handful of tools and some know-how. Through this article, we’ll guide you along your journey to mounting fence posts in just 1,000 words!
From wooden to metal, if you’re ready to set a fence post, you first need to decide on your post type. Then, it’s essential to calculate the appropriate size and spacing. Following that critical step, you must ensure that the posts remain level and firmly entrenched in the soil for safety.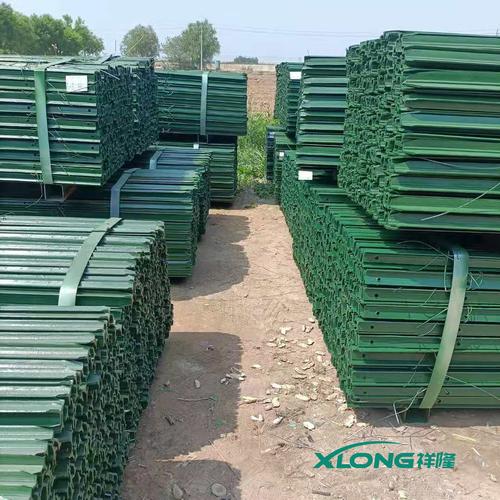
Once you have determined the magnitude of both the fence posts and the spacing, the subsequent step is to commence the installation. Each post mandate a hole roughly twice its depth, sufficiently wide to accommodate the post and equip depending on which tool you select; a post-hole digger or shovel. Creating a precise hole with either instrument guarantees that your fence has the best build possible.
After the holes have been dug out, the next step is to place the fence posts. Start by implementing the post into the bottom of the gap, ensuring it stands leveled. Peruse the post with a post driver or sledgehammer, pounding it securely into the terrain while continuous checking to make sure it remains in its original stable position. Once the post is firmly in its spot and evenly leveled, move on to the next posts until all are set and secure.
Now it’s time to get the fencing up! You can use a range of materials, such as metal, wood, or vinyl. Metal fencing requires a post hole digger for crafting holes in the ground, screws or nails for installation, while wooden fencing can just be straight-up nailed to the posts. If you’re going with vinyl fence, however, you’ll need to put the post hole digger to work once more and use a special attachment specifically designed for vinyl fence installation.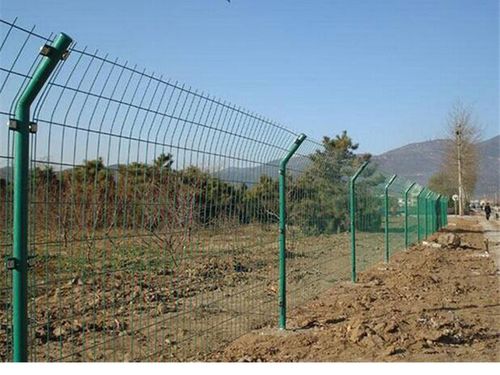
Having affixed the fence to the posts, stablize and complete the job by packing in the holes with soil or pebbles. Then, encircle the posts in a layer of mulch to assist in seamlessly blending them into the environment.
Crafting a durable and attractive fence doesn’t take a master carpenter – all it takes is the right tools, good technique, and some time. By the end, you’ll have fence posts that are tied into the ground securely and ready to guard your yard for years to come. With our easy steps, you can go from zero to fencing hero in no time.
Installing a fence is an ideal choice for upgrading your home’s aesthetic appeal, security, and value. Yet without the right knowledge on how to set fence post correctly, this can be an arduous and labor-intensive project. Thus, it’s essential for homeowners to comprehend the basics of how to set fence post when they plan to build a fence.
Once you’ve decided to proceed with fence installation, the initial step is to consider the required size and style of post. Different types necessitate different mechanisms for installation, so select the most appropriate variety for your objectives. Afterwards, acquire sufficient posts to accommodate the complete length of your fence.
After you’ve established where your fence will be, it’s time to gauge and define the area. Use any combination of stakes, string, and a measuring tape to pinpoint the size and border of your fence. Pay close attention to every aspect of positioning, as each post needs to occupy its specified spot with precision in order for the fence to stay level and unyielding.
Drawing a perimeter line to indicate the fence’s placement is the first phase. With that out of the way, it’s time to start digging down. Whether using a post hole digger or a trusty shovel, you’ll want to make sure that each well penetrates about two feet in order to form a sturdy foundation for your posts. Additionally, bear in mind that slightly making the holes wider than the posts will allow for a smoother fixing into the ground.
Now that the digging is done, it’s time to securely fasten the post. Start by sprinkling several inches of gravel into the ditch and nestling the post within. Ensure the post is upright and evenly balanced before pouring more gravel all around it, packing it down firmly. Lastly, cover the rest of the hole with earth until it’s completely filled.
With the post in position, solidify it with concrete. Adhere to the manufacturer’s directions and fill the hole, encasing the post. Double-check that all sides of the post are covered and that no bubbles are present. Once the concrete is firm, proceed to the next post.
Performing the same routine for each post, you can create a complete fence line effortlessly. Once finished, you can give your completed project an extra touch by including details such as a gate, locks, and ornate accents. With the correct tools and a bit of perseverance, erecting a fence post can be taken care of swiftly.
Enhance the privacy, security, and value of your property with the installation of a fence. There is no need to be intimidated when it comes to setting the fence post as it is a manageable task with the right tools and a bit of perseverance. Before you know it, you’ll have that post expertly in place.
Related Product
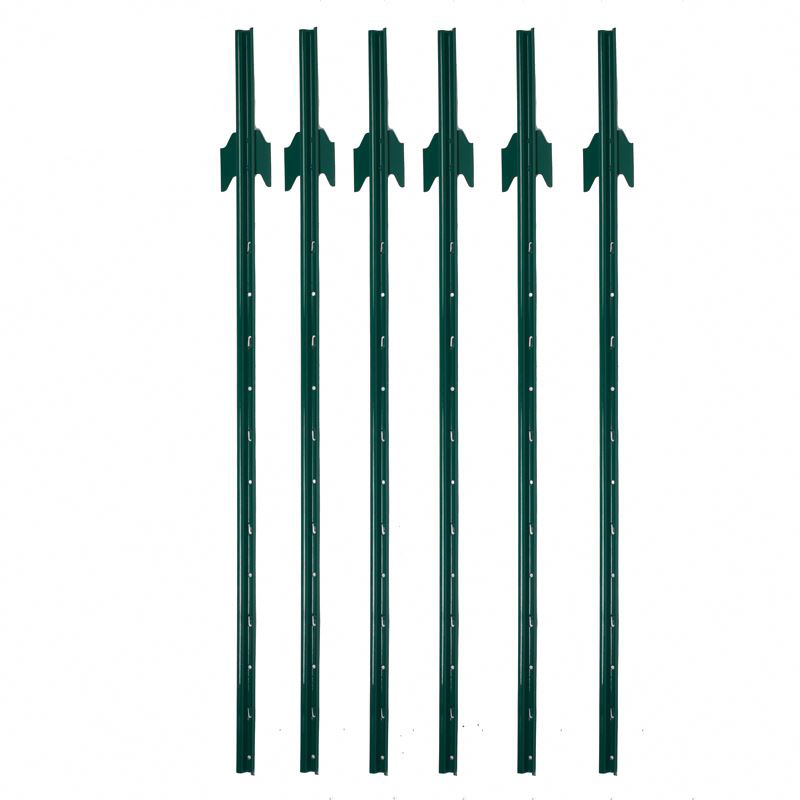
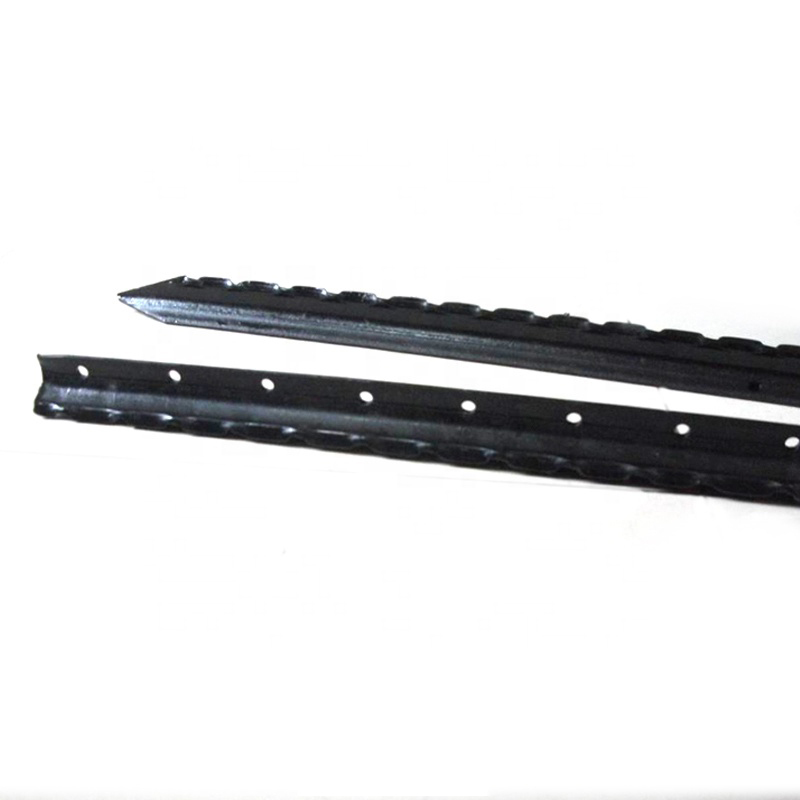
U Post
Heavy Duty Garden U Shaped Steel Fence Post With Spade Shape: U shape, with or without spade Material: low carbon steel, rail steel, etc. Surface: Powder coated Advantage: Easily A […]
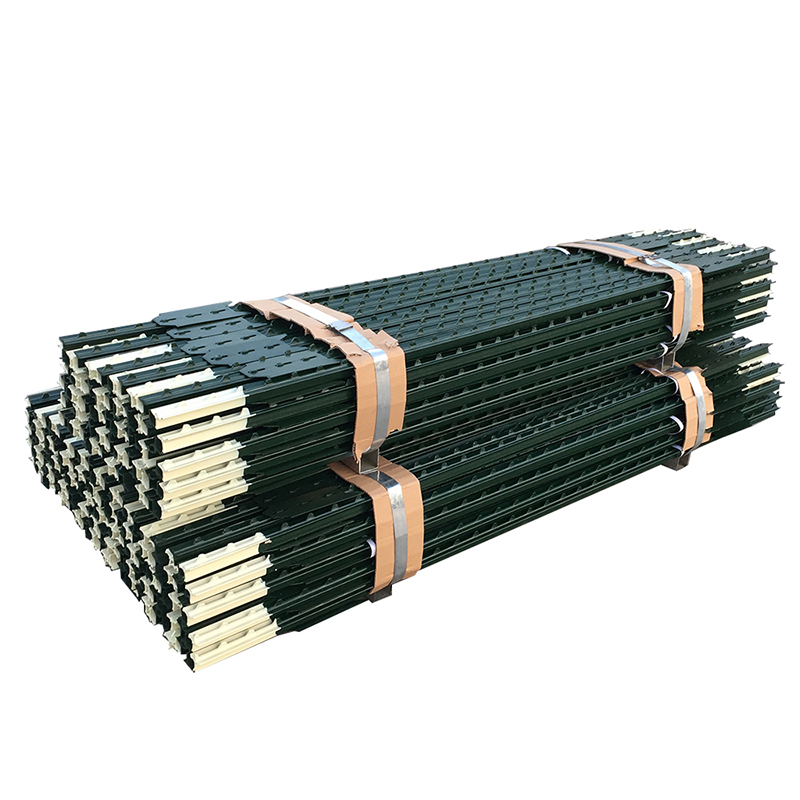
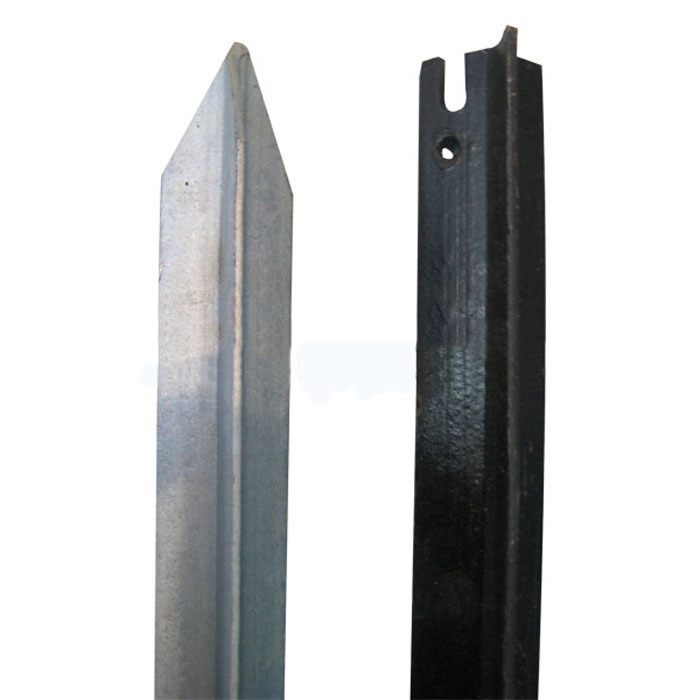
Studded T Post
material: rail steel weight: 0.85,0.95,1.25,1.33lbs/ft etc length: 5′-10′ etc surface: painted with spade,painted no spade,unpainted with spade,unpainted without spade,hot-dipped g […]
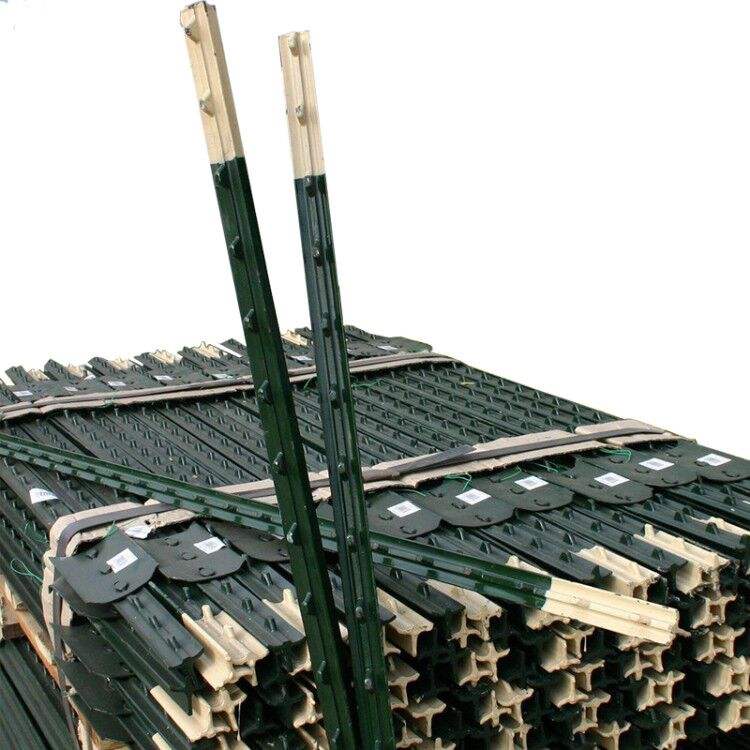
Y Post
Length:1.35m,1.5m,1.65m,1.8m,2.4m etc Weight:1.58kgs,1.86kgs,1.9kgs,2.04kgs/m etc Surface:painted, Hot dip galvanized, No paint Usage:farm fencing,garden fencing Packing:400pcs/pal […]
T Post
Material: rail steel Weight: 0.85,0.95,1.25,1.33lbs/ft etc Length: 5′-10′ etc Surface: painted with spade,painted no spade,unpainted with spade,unpainted without spade,hot-dipped g […]
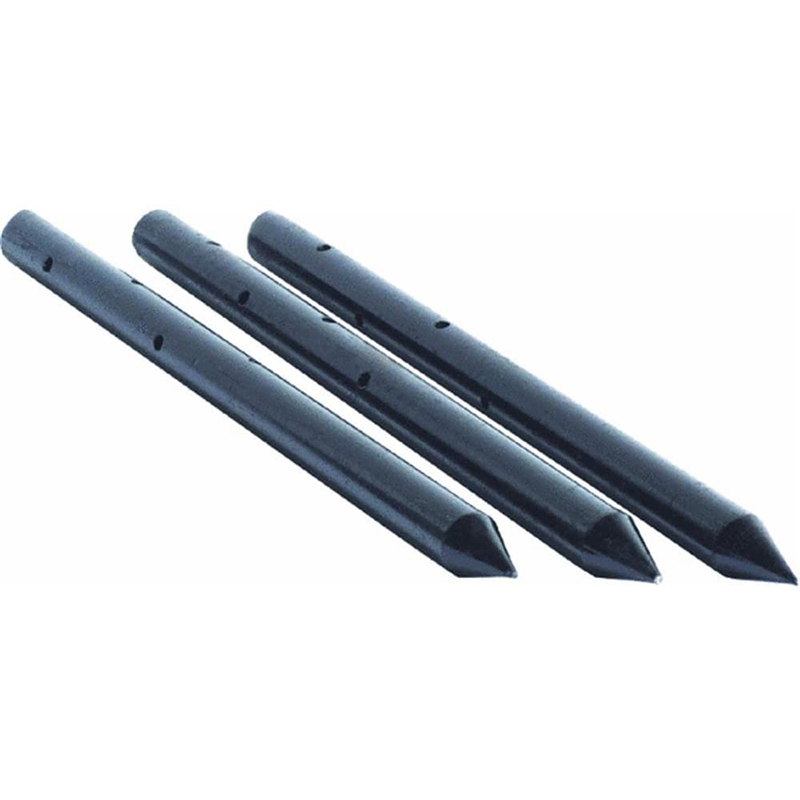
Nail Stake
Product information: Description Unit Pallet Weight(kg) 3/4″x12″ 10pcs/box 150boxes/pallet 0.6200 3/4″x18″ 10pcs/box 100boxes/pallet 0.9250 3/4″x24 […]
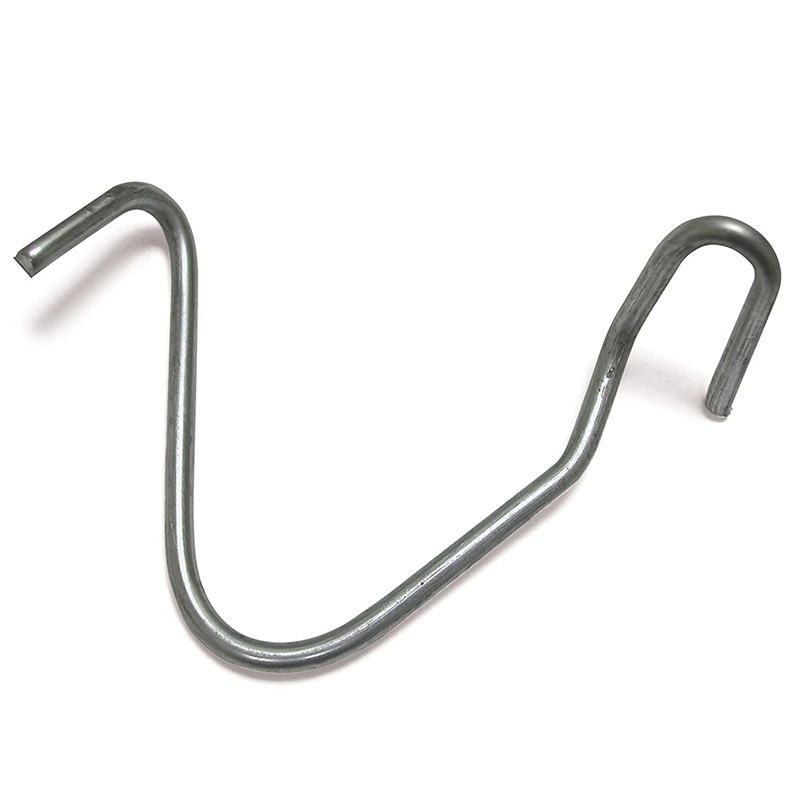
T Post Clip
These heavy duty T-post clips fit standard size 1.25 and 1.33 lb. studded T-posts. Manufactured from 11-1/2 gauge wire that is Hot-dipped galvanized, these clips are designed for f […]
Israel Y Post
Y post with teeth provides the most reliable way of fencing wire attachment by threading the wire through the holds along the post, gripping the wire with is specially designed tee […]
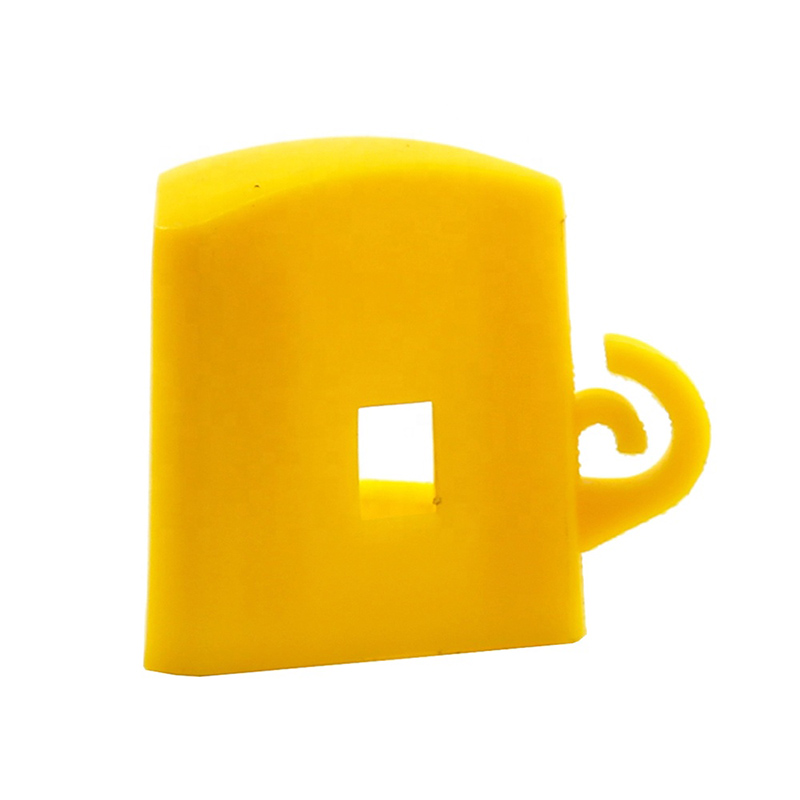
Y Post Cap
Y Posts Caps is also called safety cap or Star picket caps. It used for Y star picket . It can cover sharp edges of Y posts. Type Size(L x W X H) Thickness Weight Round 57x57x60mm […]
Post time: 2023-08-09
