
Installing a fence post may seem like a job fit only for professionals, yet with the right know-how, it’s easy enough for homeowners to accomplish on their own. To ensure that your fence will stay secure and last the test of time, this article will explore the basics of proper fence post setup. With these tips in hand, you’ll be ready to set yours in place like a pro!
Before you plant a fence post, it is essential to create the foundation for it. Depending on the size of the post and composition of the soil, dig a hole that is three times larger in width and one-third tall of the post. If you’re using concrete, make sure to leave some room for it to be added. To give the post its essential security, line the bottom with a layer of gravel. This will prevent the ground from shifting and make sure that your post stays stable.
After determining that the post’s position is correct, embed it within the cavity. Utilizing a level, guarantee that the post stands straight and stable. Unbalanced posts could crumple or sway, so it is important to ensure their area firm. Once the post has been situated, fill the hole around its base firmly with soil to hold it in place. To further fortify its strength, add gravel or more soil if necessary.
Post installation should be followed by the application of concrete. For best results, select a concrete mix specifically created for fence posts. Before mixing and pouring, strictly adhere to the instructions on the packaging. Layer the concrete gradually, allowing it time to settle between each addition. Examining the post at each layer will guarantee a level outcome – small adjustments can be made with shims or further concrete if needed.
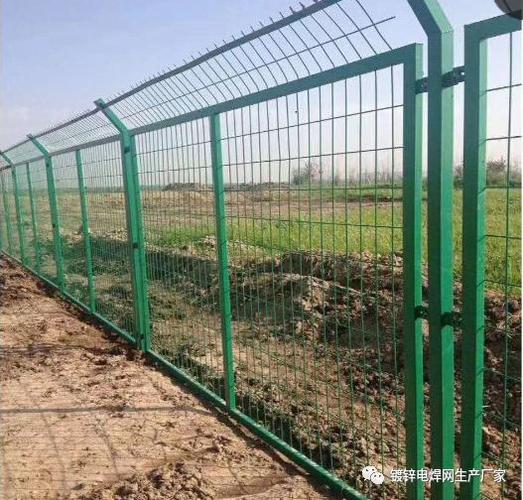
After the concrete has hardened, you can begin to attach the fence panels. Brackets and screws both work well to keep the panels tied securely to the post; this, in turn, helps to ensure that your fence has the necessary support and stability.
All in all, establishing a fence post is an uncomplicated endeavor. Nevertheless, it is essential to guarantee that the post is flat and safe. Double-check to carve an adequately wide opening and employ gravel and cement to safeguard the post. Utilize joints or screws to link the fence panels to the post. Using these techniques will guarantee that your fence post is dependable and will endure for an extended period of time.
Prudent installation of fence posts is a key factor in the formation of a fence that is both dependable and secure. In this article, we will take an in-depth look at all the aspects necessary for constructing a fence post, from the different types of posts available, to the tools and materials, to a complete rundown of the steps involved.
Apparatus and Supplies
You can’t move forward with building a fence post without having its required materials and tools on hand. Everything from the type of the post to the components used to make it can affect what you’ll have to get, so don’t be caught short when it comes time to begin constructing. Here are some of the most typical materials that you might use for setting up a fence post:
Sturdy and long-lasting, wooden fence posts are commonly seen in a variety of styles and designs. With special weather protection, usually provided by a specialized wood preservative, wooden fence posts can endure the harshest of elements.
Metal posts seem to be all the rage these days when it comes to fence posts, as they are characterized by exceptional durability and a low-maintenance approach. That being said, metal posts tend to be on the pricey side and handling them can be a bit of a challenge.
Sturdy and enduring, concrete posts make for suitable fence posts but can be a burden to install due to their oppressive weight.
To get started, you’ll need to equip yourself with a few tools for preparing the posts. This includes a post-hole digger, a level, a hammer, a wrench and, of course, a trusty power drill.
Kinds of Content
Making the right decision matters when it comes to finding a fence post! Three different types of posts are available on the market, and factoring in the job’s requirements is key when it’s time to make a selection.
Wooden posts may not always be the most expensive option, but they are a convenient material used for fence posts and provide a great starting point. To make sure these types of posts last, they should be protected from rain, sun, and other environmental elements by being treated on a regular basis.
Metal posts: Although they have the potential to grant lasting strength and resilience, metal posts come with a financial cost and are not the most user-friendly when it comes to installation.
Despite being reliable and longlasting, inserting concrete posts is no easy task. They are notoriously weighty, making them strenuous to put in place.
Guidelines for Establishing Fence Posts
Having determined the type of posts that are required, the next step is to begin the setup process. Here are the steps to follow while erecting fencing posts:
Taking careful notes of the measurements, mark the vicinity where the post will stand with a pencil in order to prepare for placement.
Once you’ve got your post-hole digger ready, it’s time to start digging a hole for the post. To make sure it is secure and stable, you’ll want to make sure the diameter is at least 8 inches and that the depth is 18 inches.
To provide a sturdy support, you’ll need to stuff the whole with gravel. Doing so will give the post an unshakeable foundation.
Utilizing a level, place the post into the already dug hole to ensure perfect alignment.
Ensure that the post is held firm by driving nails through it and into the ground.
Guarantee maximum stability for your post by filling the hole with a layer of concrete.
Upon pouring the concrete, refrain from assembling the fence right away; it’s important to let the concrete sit undisturbed for a minimum of 24 hours before beginning to build a barrier.
Putting up fencing requires the right fence posts; selecting the best type for your needs, assembling the necessary tools and materials, and taking your time are all key ingredients for success. A bit of patience and the proper supplies go a long way towards creating a beautiful barrier in your outdoor space.
Related Product
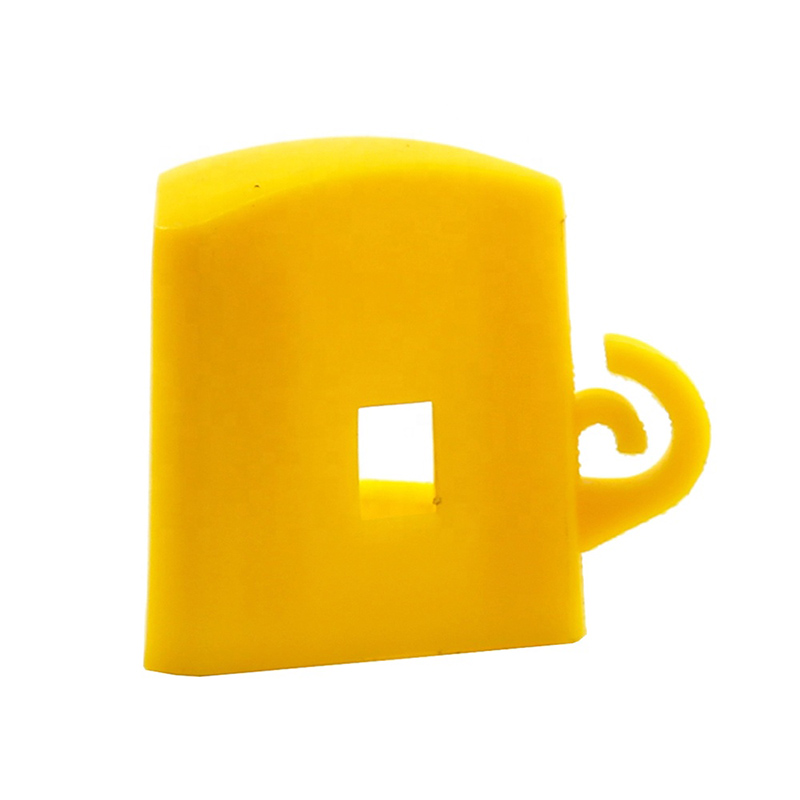
Y Post Cap
Y Posts Caps is also called safety cap or Star picket caps. It used for Y star picket . It can cover sharp edges of Y posts. Type Size(L x W X H) Thickness Weight Round 57x57x60mm […]
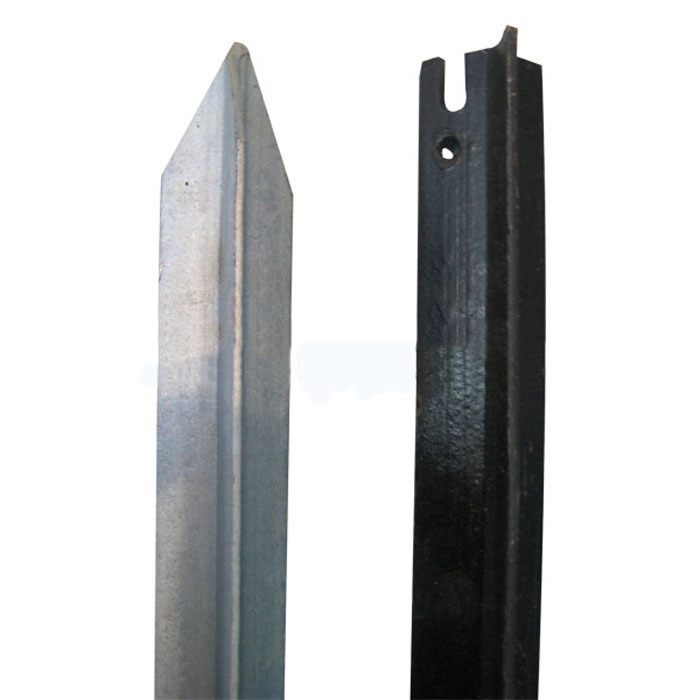
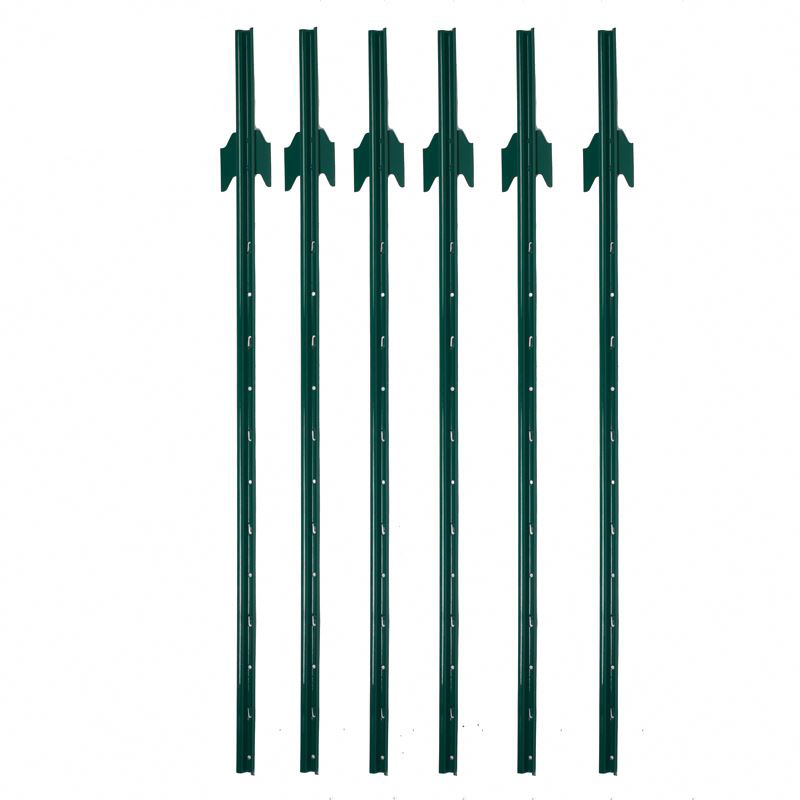
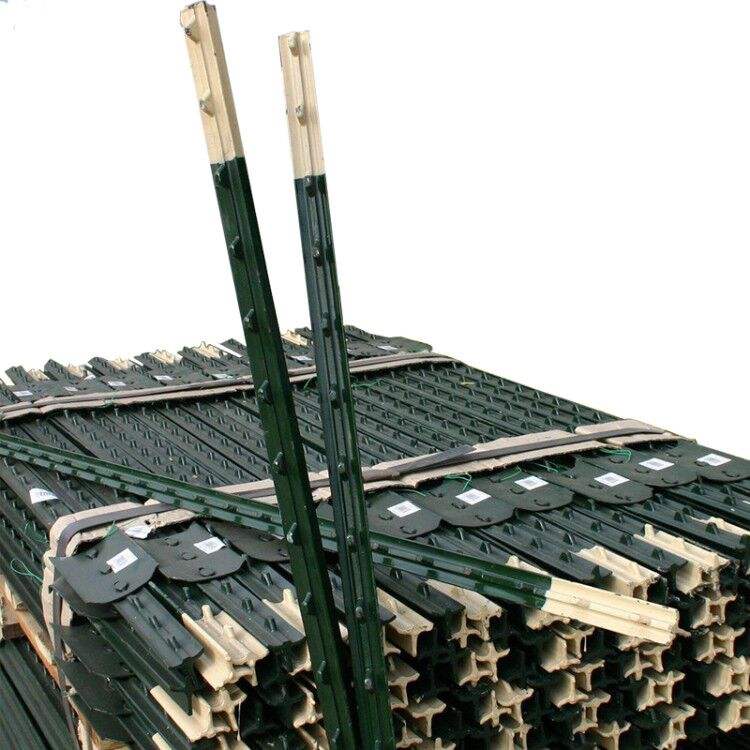
Y Post
Length:1.35m,1.5m,1.65m,1.8m,2.4m etc Weight:1.58kgs,1.86kgs,1.9kgs,2.04kgs/m etc Surface:painted, Hot dip galvanized, No paint Usage:farm fencing,garden fencing Packing:400pcs/pal […]
T Post Clip
These heavy duty T-post clips fit standard size 1.25 and 1.33 lb. studded T-posts. Manufactured from 11-1/2 gauge wire that is Hot-dipped galvanized, these clips are designed for f […]
U Post
Heavy Duty Garden U Shaped Steel Fence Post With Spade Shape: U shape, with or without spade Material: low carbon steel, rail steel, etc. Surface: Powder coated Advantage: Easily A […]
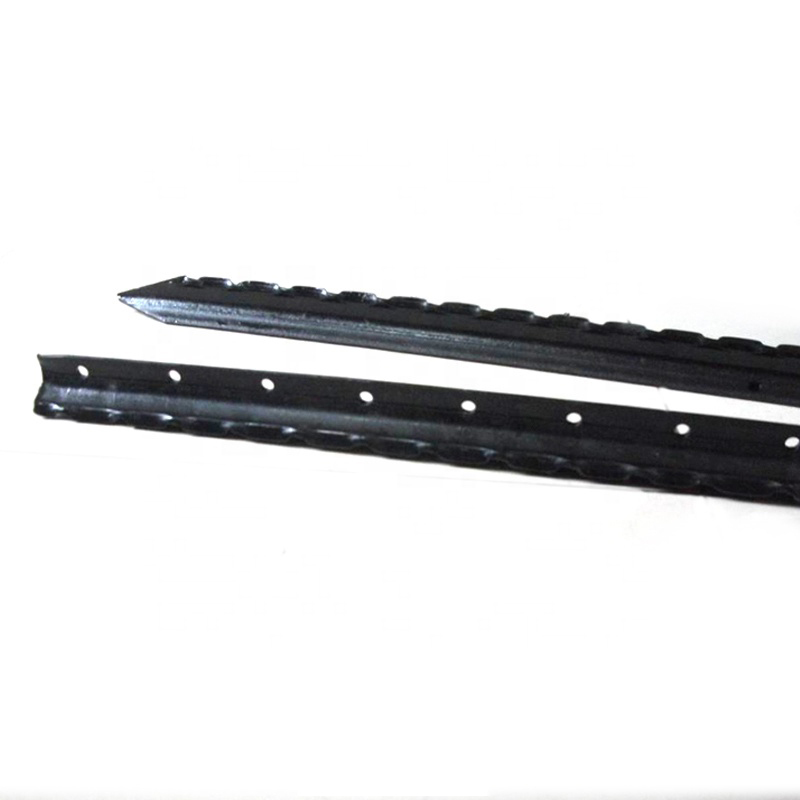
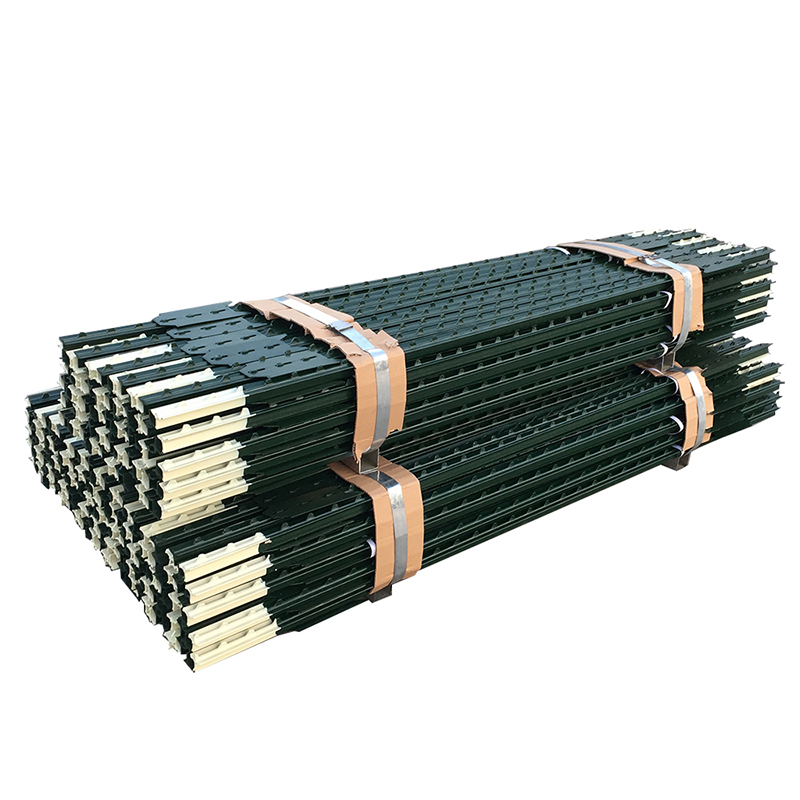
T Post
Material: rail steel Weight: 0.85,0.95,1.25,1.33lbs/ft etc Length: 5′-10′ etc Surface: painted with spade,painted no spade,unpainted with spade,unpainted without spade,hot-dipped g […]
Israel Y Post
Y post with teeth provides the most reliable way of fencing wire attachment by threading the wire through the holds along the post, gripping the wire with is specially designed tee […]
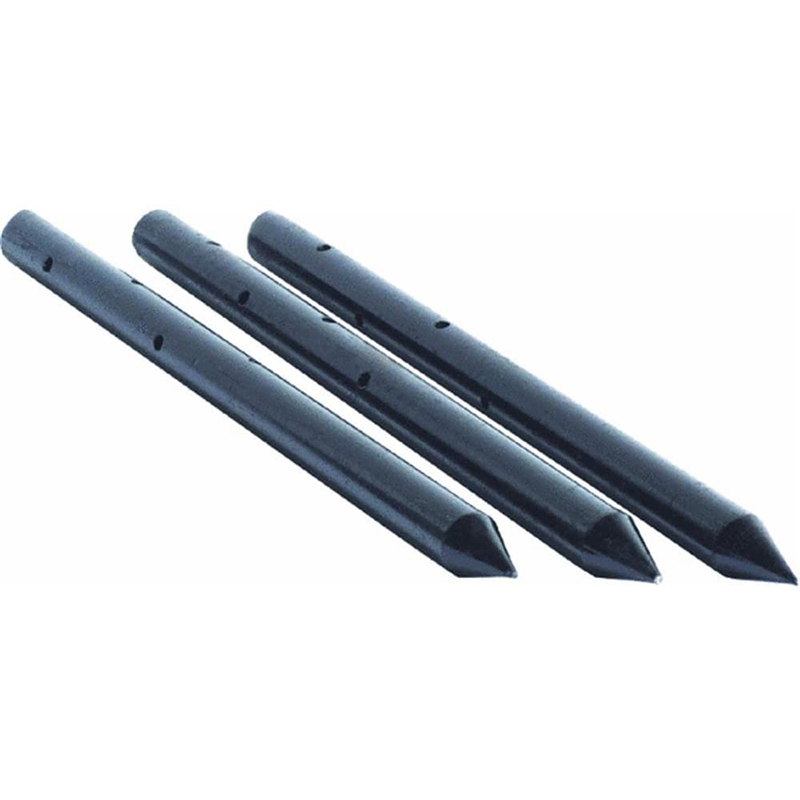
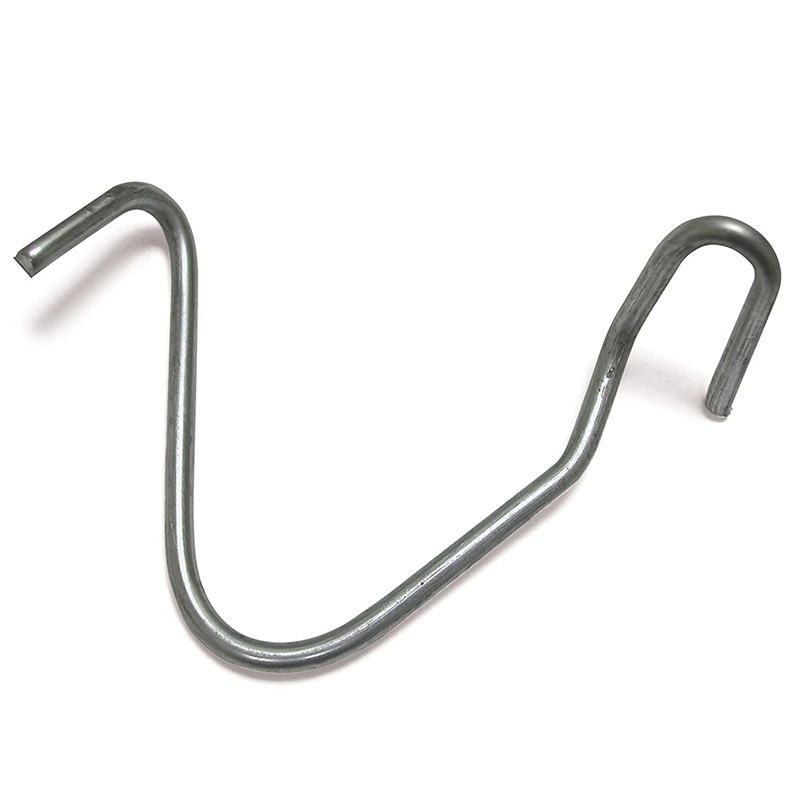
Nail Stake
Product information: Description Unit Pallet Weight(kg) 3/4″x12″ 10pcs/box 150boxes/pallet 0.6200 3/4″x18″ 10pcs/box 100boxes/pallet 0.9250 3/4″x24 […]
Studded T Post
material: rail steel weight: 0.85,0.95,1.25,1.33lbs/ft etc length: 5′-10′ etc surface: painted with spade,painted no spade,unpainted with spade,unpainted without spade,hot-dipped g […]
Post time: 2023-07-10
