
For those in need of a sturdy and longevity-enduring fencing option, concrete fence post molds provide a convenient, yet economical outcome. With the ideal kind of mold, your fence post can be rendered beautiful and capable of holding its own for long periods of time.
Creating durable, long-lasting fence posts from concrete requires the use of a concrete fence post mold, which is crafted typically from plastic or metal. This form can be fashioned in many different sizes and forms, however a common shape is a rectangular box. Once filled with concrete, the mold ensures the post sets correctly and spreads evenly.
Instead of investing in concrete fence posts, you can opt for an economical solution: use molds to build your own. Making a mold purchase is much more affordable than opting for pre-constructed fence posts. What’s more, you’ll save money on labor costs that would otherwise stem from having to get posts externally. Weighing up both initial cost and labour, it’s clear that the cost-effectiveness of using molds is a highly practical choice.
Crafting a fence with concrete posts utilizing a mold offers the one-of-a-kind benefit of custom selection. Through the right kind of mold, it is possible to make fence posts in diverse shapes, sizes, and even colors. This puts the power in your hands to create an eye-catching barrier that also serves its purpose.
Working with a concrete fence post mold requires extra safety considerations. To prevent any potential health hazards from the concrete’s fumes, make sure the area is adequately aerated. It’s also wise to don protective gear, like gloves and a face mask, to protect yourself from dust particles created during mixing and pouring.
Before you embark on the process of pouring concrete into the mold, it is essential to ensure adequate preparation. Give the mold a good wipe with a damp cloth to rid it of any dirt and debris, allowing it to completely dry afterward. Additionally, apply a release agent on the interior of the mold – this will stop any concrete from sticking to the sides when poured in.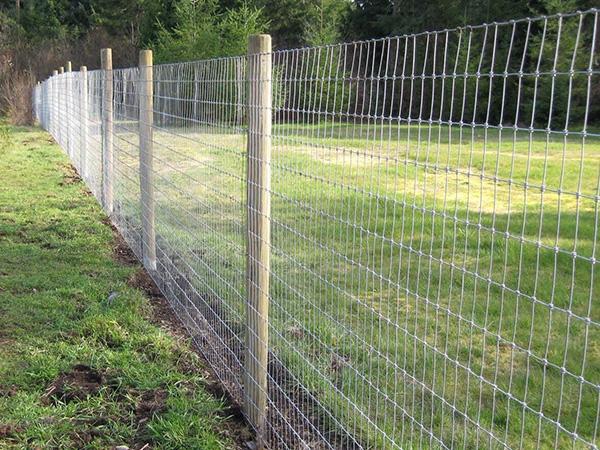
With the mold ready to go, it’s time to combine the concrete mix. Make sure you follow the instructions carefully; you don’t want to be too generous with the water! To reach the desired texture, mix until you get as thick a pancakes batter. Then, pour your concoction into the mold and leave it to dry and strengthen.
When the concrete has been given enough time to set and harden, it’s time to take the post out from the casing. Quickly flip the mould over and give it a few tapsto loosen the post and let it come out. If it won’t do so, then try using a chisel or other appropriate tool to separate the post from the enclosure.
Once liberated from the mold, the post is now all set to be fitted in its place. Ensure its safe and secure installation by clicking into place with the right anchoring materials as specified in the packet instructions.
Crafting your own fence post can be a streamlined and budget-friendly process. When you invest in the right molds, you can create a stylish post that will stand the test of time. Though expertise with concrete may be needed to get the job done, it is vital to take all necessary safety precautions and mind the manufacturer’s guidance for the best outcome possible.
For any fence project, the security and functionality of the installation depend upon the solidity of the base. Fence post molds constructed from concrete are essential for guaranteeing dependable durability. When prepped and placed correctly, these concrete molds create a foundation that will uphold your fence for many years.
There’s no one-size-fits-all when it comes to building a fence. That’s why concrete fence post molds come in a multitude of forms, allowing for an adaptation to fit the size and style needed. The most common shapes are round, square, and rectangular, and selecting the right size post mold is vital for ensuring a snug and secure fit.
Before installing the concrete fence post mold, its vital to get the area ready. Remove any debris, rocks, or anything else that might disrupt the installation later on. Additionally, make sure the surface is leveled off and the hole is deep enough for the post to fit snugly.
After the ground has been appropriately prepped, it is time to set the post mold into the created opening. It is essential for the post mold to be firmly and evenly positioned in order to provide a level base for the fence. To ensure that the fence stays intact, check for a secure placement of the post mold. This is a pivotal step in constructing a sturdy, dimensionally accurate barrier.
Once the post mold has been secured, a mixture of concrete and water should be slowly poured into the prepared space until it is evenly full. Utilize a trowel to level out the concrete and then leave it be while it naturally sets overnight.
Once the concrete has become firm, it is essential to investigate the post mold for any splits or destruction. If any fractures are discovered, they should be filled using a covering material to preclude any additional harm. After examining the post mold, it is time to affix the fence sections.
Securing the fence panels is paramount for long-term success, thereby making it necessary that each has a sturdy connection to the post mold. Not only that, but attention must be paid to keeping them level for an even appearance. If these steps are taken, then your fence should stand the test of time.
After the fence panels have been securely mounted, it is critical to look over the posts for any signs of wear or destruction. If any noticeable damage is noticed, it must be swiftly attended to with either a repair or a replacement to deter further destruction from occurring.
Ensuring a secure and resilient fence requires the right installation of concrete fence post molds. Preparing the needed area and correctly positioning the mold prior to pouring the concrete is essential for the success of the fencing project. Afterward, careful inspection should be conducted to identify telltale signs of wear or damage. Any signs of harm should be immediately addressed so as to avoid more severe consequences in the long run.
Related Product
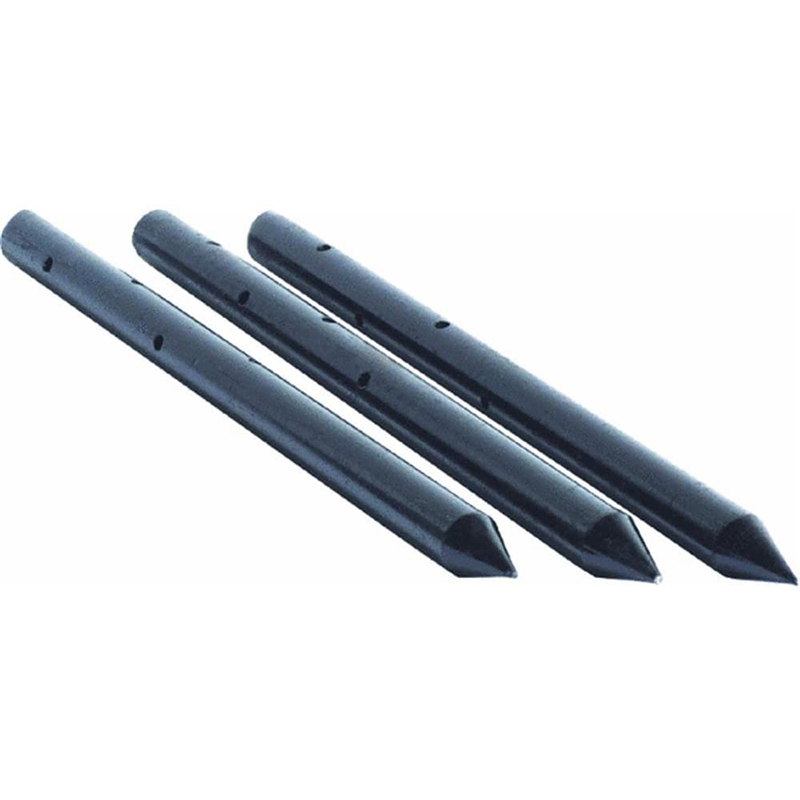
Nail Stake
Product information: Description Unit Pallet Weight(kg) 3/4″x12″ 10pcs/box 150boxes/pallet 0.6200 3/4″x18″ 10pcs/box 100boxes/pallet 0.9250 3/4″x24 […]
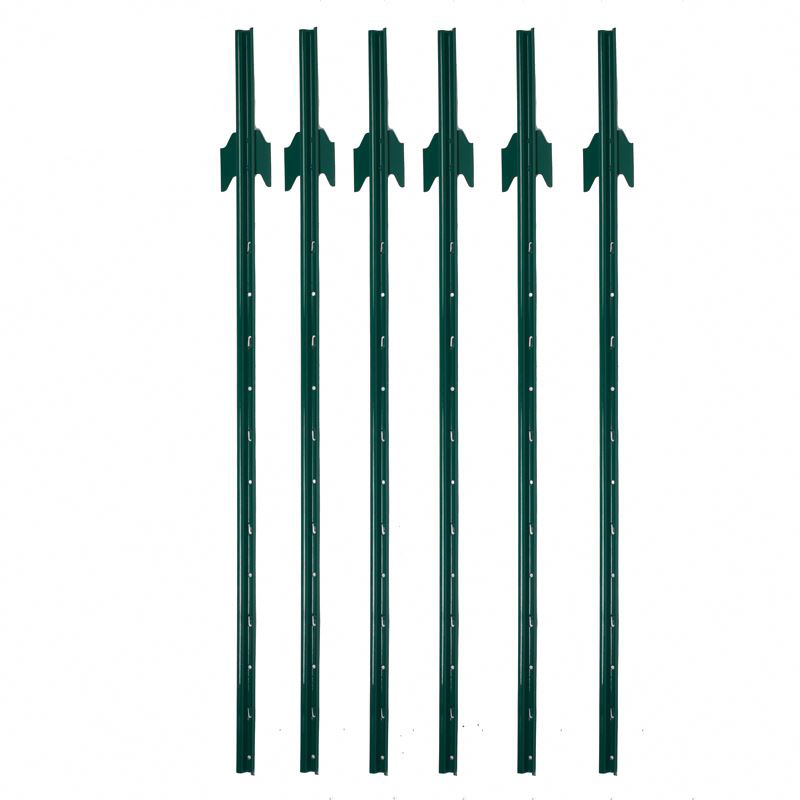
U Post
Heavy Duty Garden U Shaped Steel Fence Post With Spade Shape: U shape, with or without spade Material: low carbon steel, rail steel, etc. Surface: Powder coated Advantage: Easily A […]
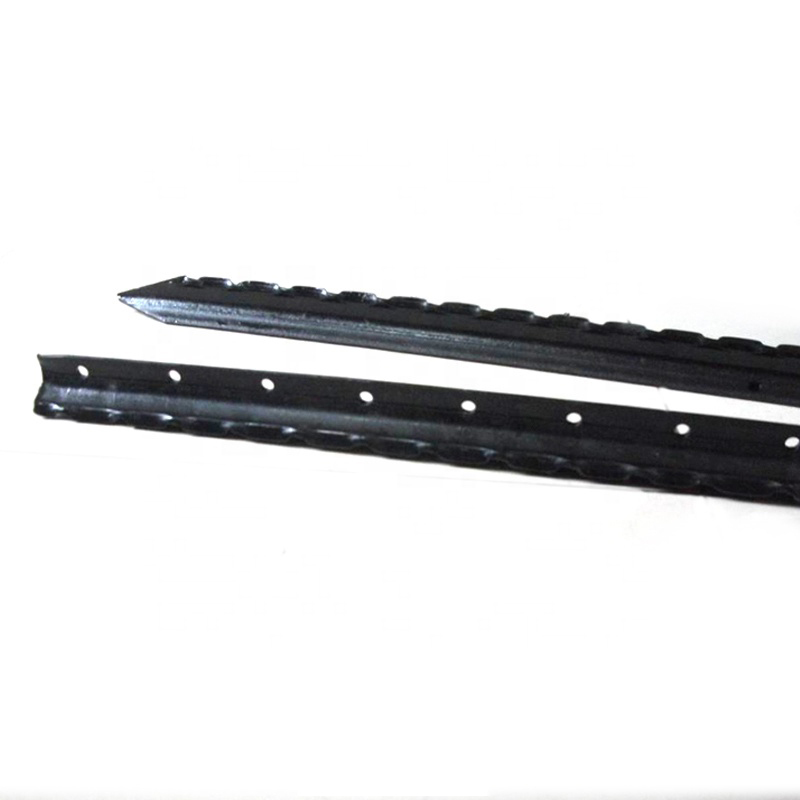
Studded T Post
material: rail steel weight: 0.85,0.95,1.25,1.33lbs/ft etc length: 5′-10′ etc surface: painted with spade,painted no spade,unpainted with spade,unpainted without spade,hot-dipped g […]
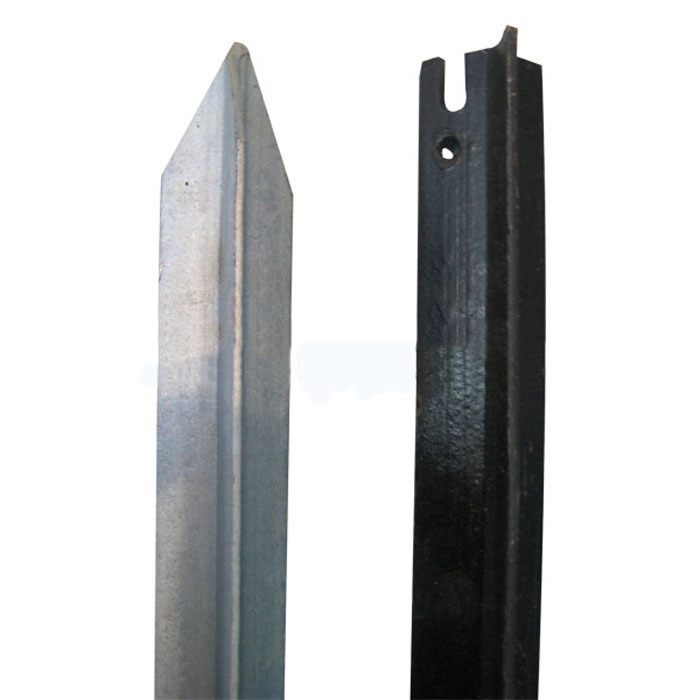
Y Post
Length:1.35m,1.5m,1.65m,1.8m,2.4m etc Weight:1.58kgs,1.86kgs,1.9kgs,2.04kgs/m etc Surface:painted, Hot dip galvanized, No paint Usage:farm fencing,garden fencing Packing:400pcs/pal […]
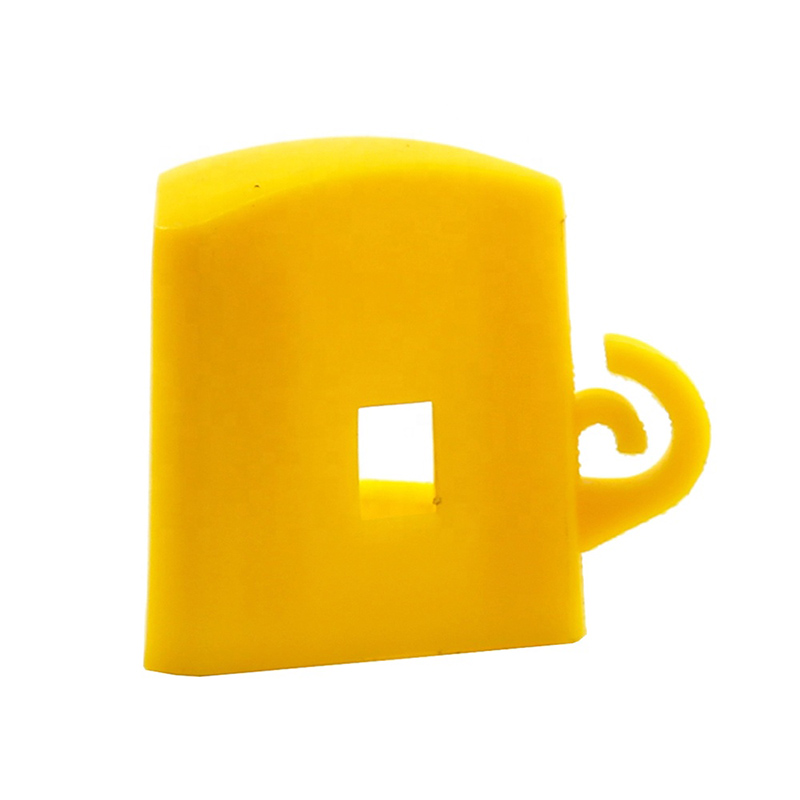
Y Post Cap
Y Posts Caps is also called safety cap or Star picket caps. It used for Y star picket . It can cover sharp edges of Y posts. Type Size(L x W X H) Thickness Weight Round 57x57x60mm […]
T Post
Material: rail steel Weight: 0.85,0.95,1.25,1.33lbs/ft etc Length: 5′-10′ etc Surface: painted with spade,painted no spade,unpainted with spade,unpainted without spade,hot-dipped g […]
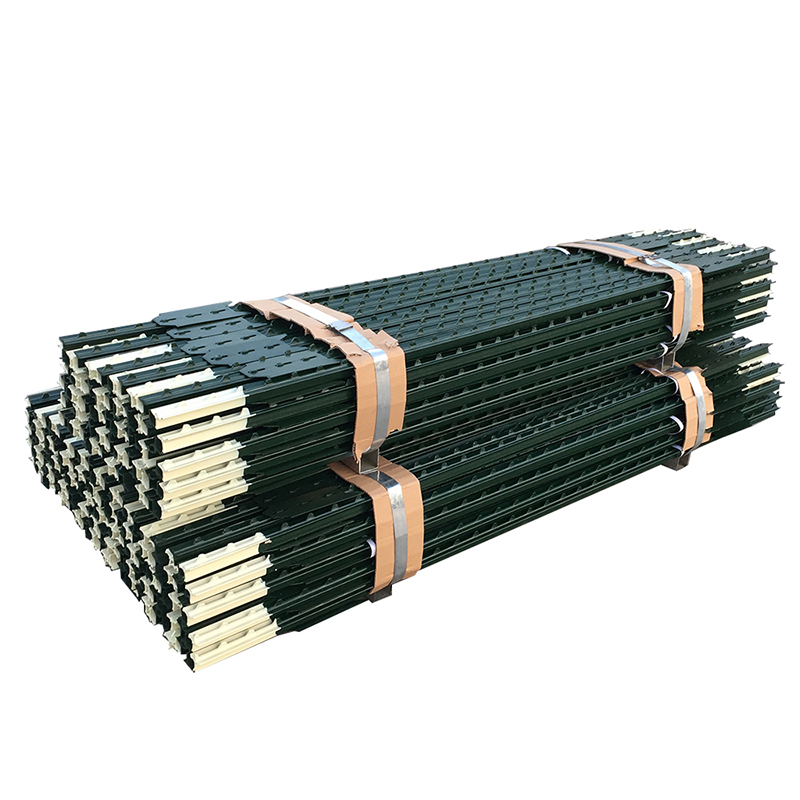
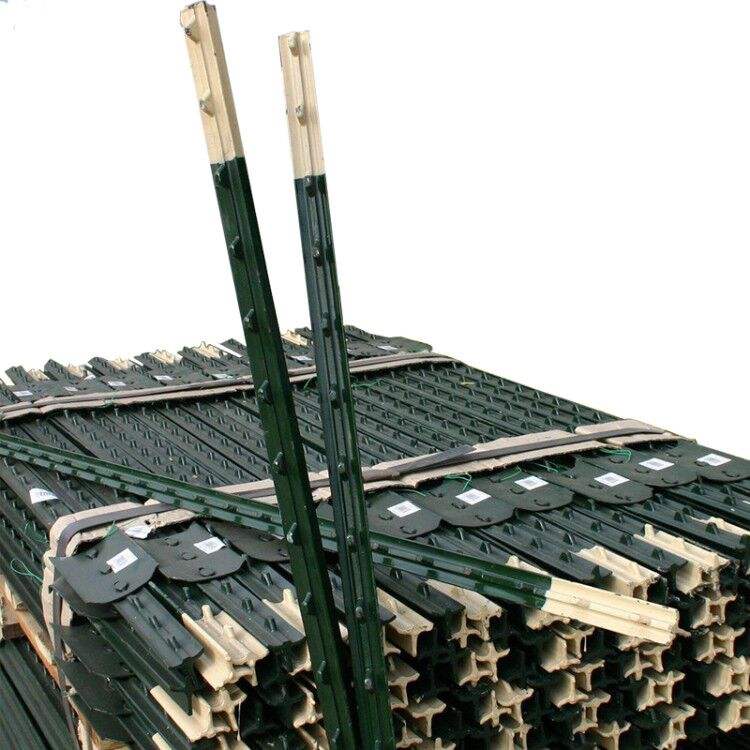
Israel Y Post
Y post with teeth provides the most reliable way of fencing wire attachment by threading the wire through the holds along the post, gripping the wire with is specially designed tee […]
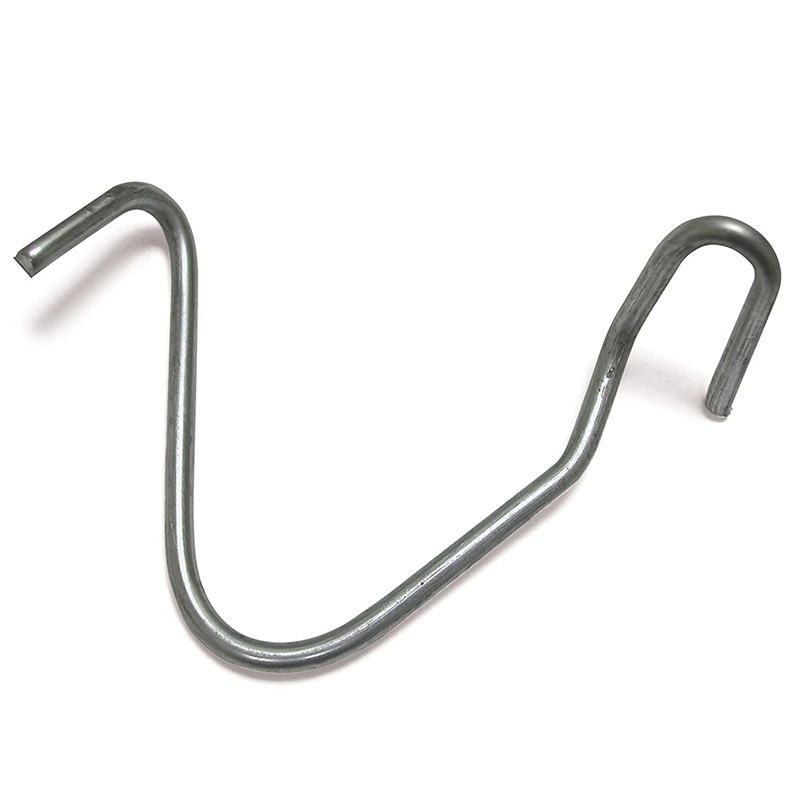
T Post Clip
These heavy duty T-post clips fit standard size 1.25 and 1.33 lb. studded T-posts. Manufactured from 11-1/2 gauge wire that is Hot-dipped galvanized, these clips are designed for f […]
Post time: 2023-08-07
